
Open Your Portal Invite
Pushworth Live is your central hub for managing your work with Pushworth.
Everything is designed to give you visibility over your engagements while Pushworth manages the administration behind the scenes.
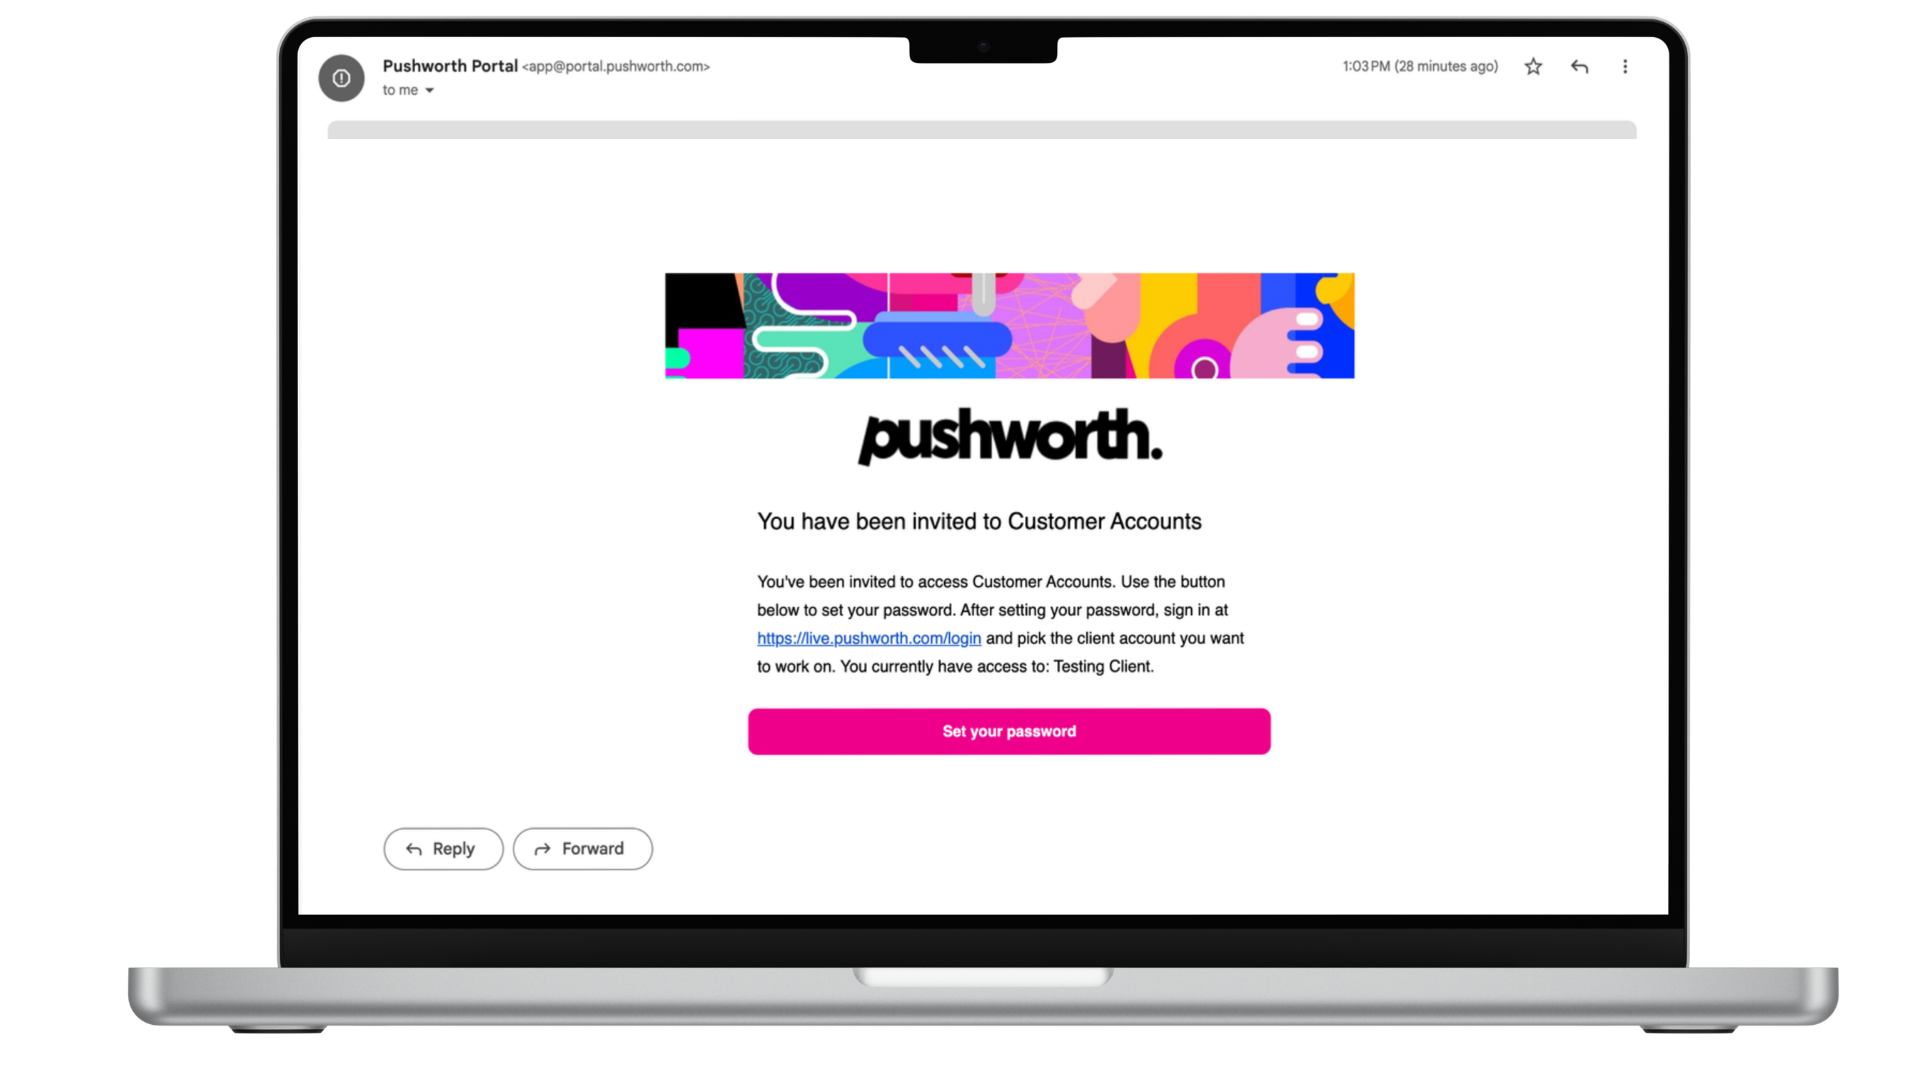
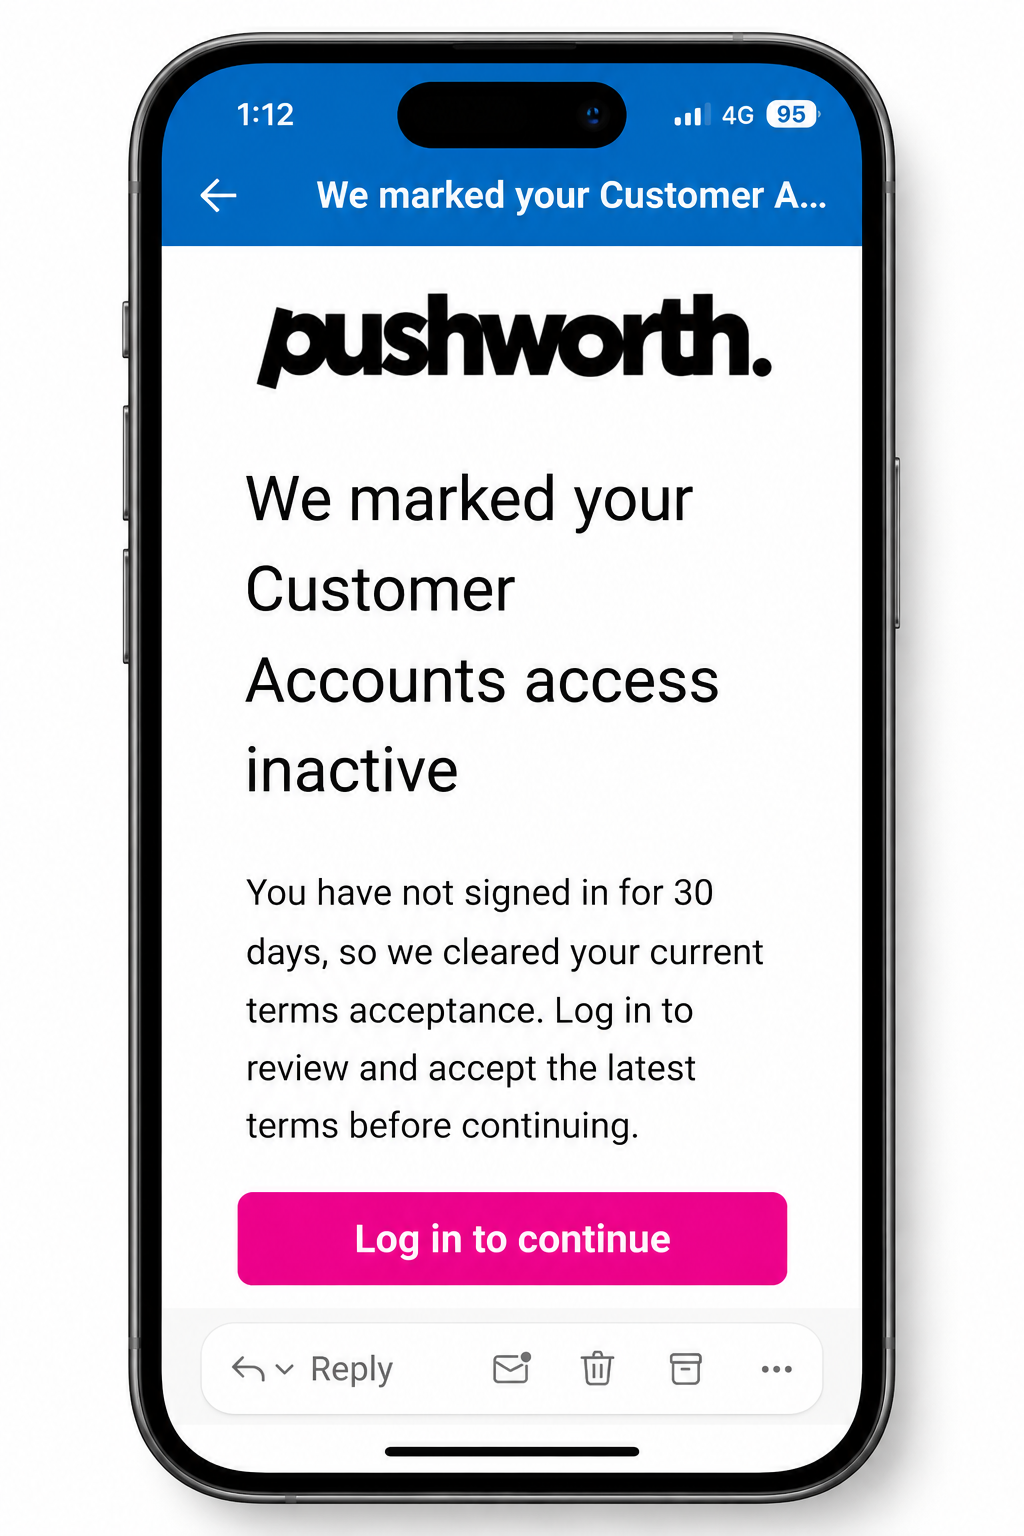
Pushworth will send your Portal invitation to the email address registered to your account.
Open the Portal invitation sent by Pushworth.
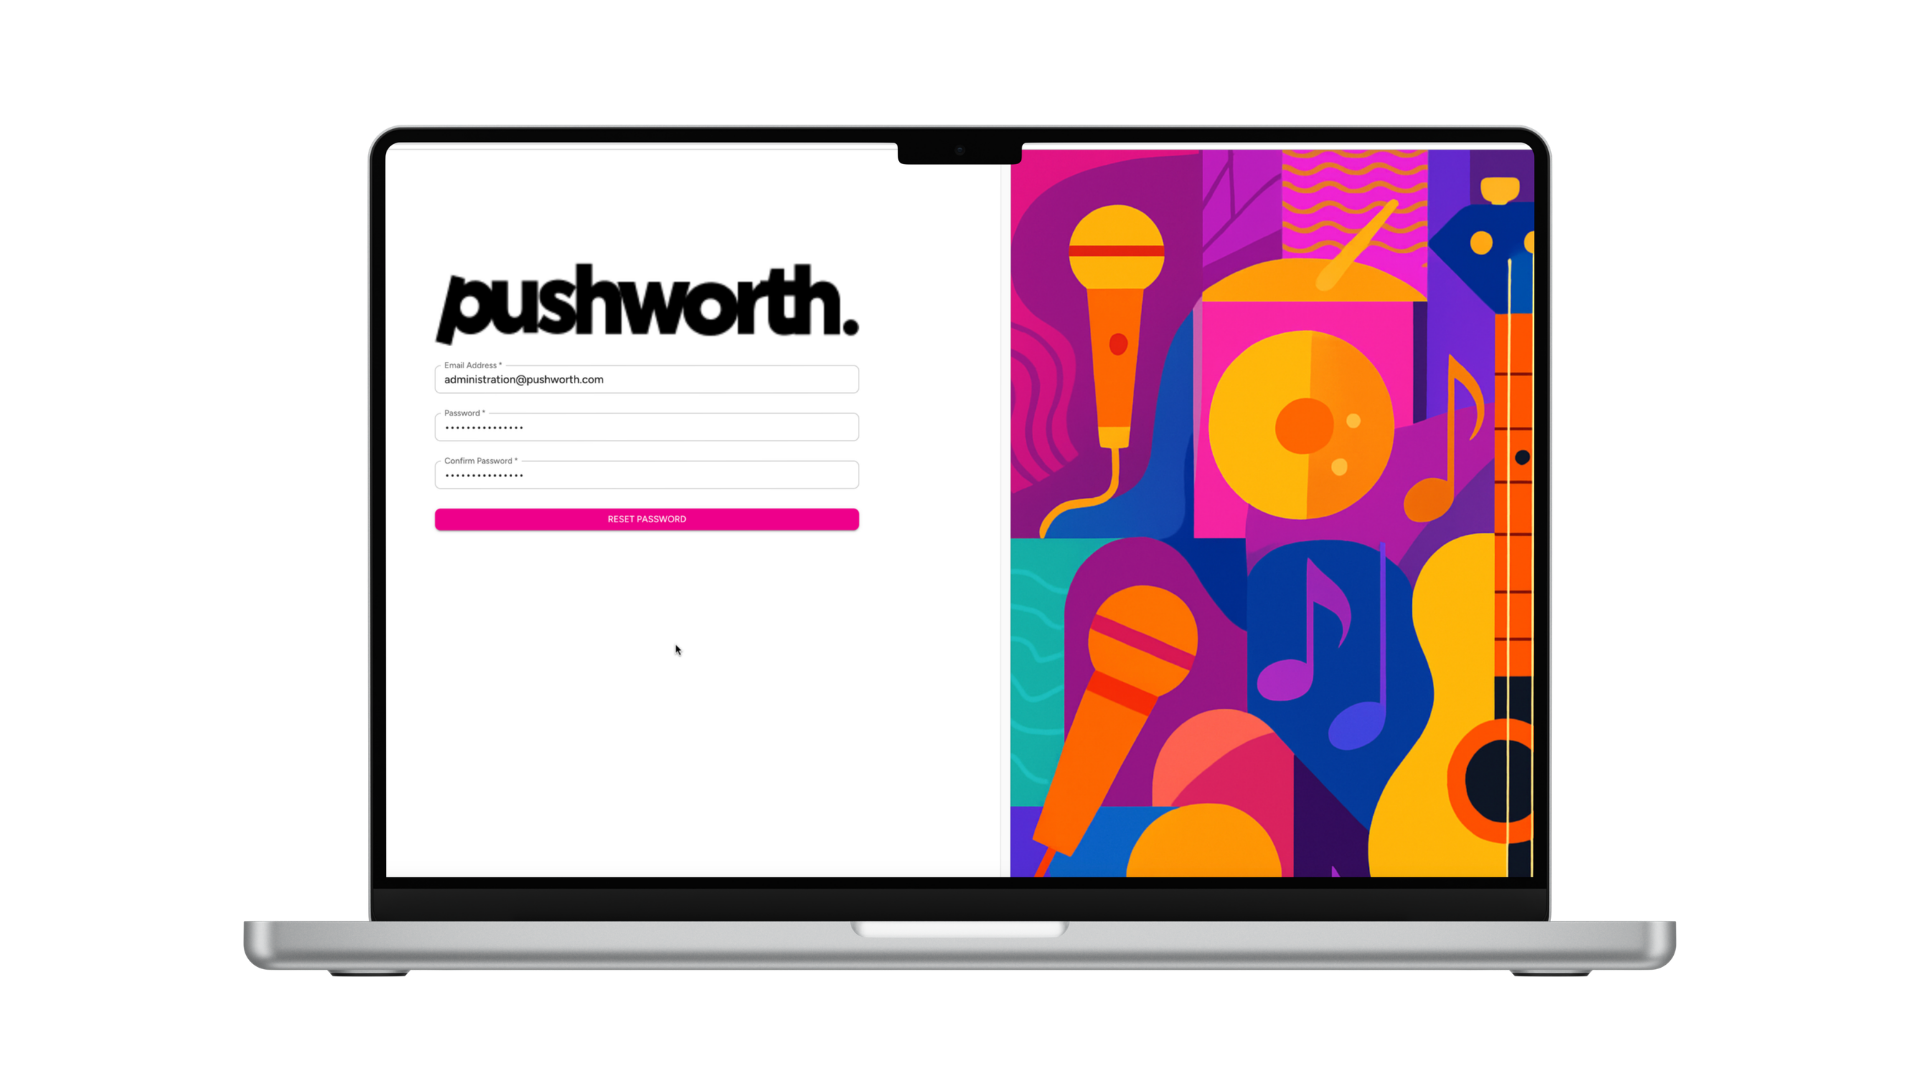
Follow the link supplied in the invitation. Your temporary access expires after 24 hours.
Create your own secure password for future Portal access.
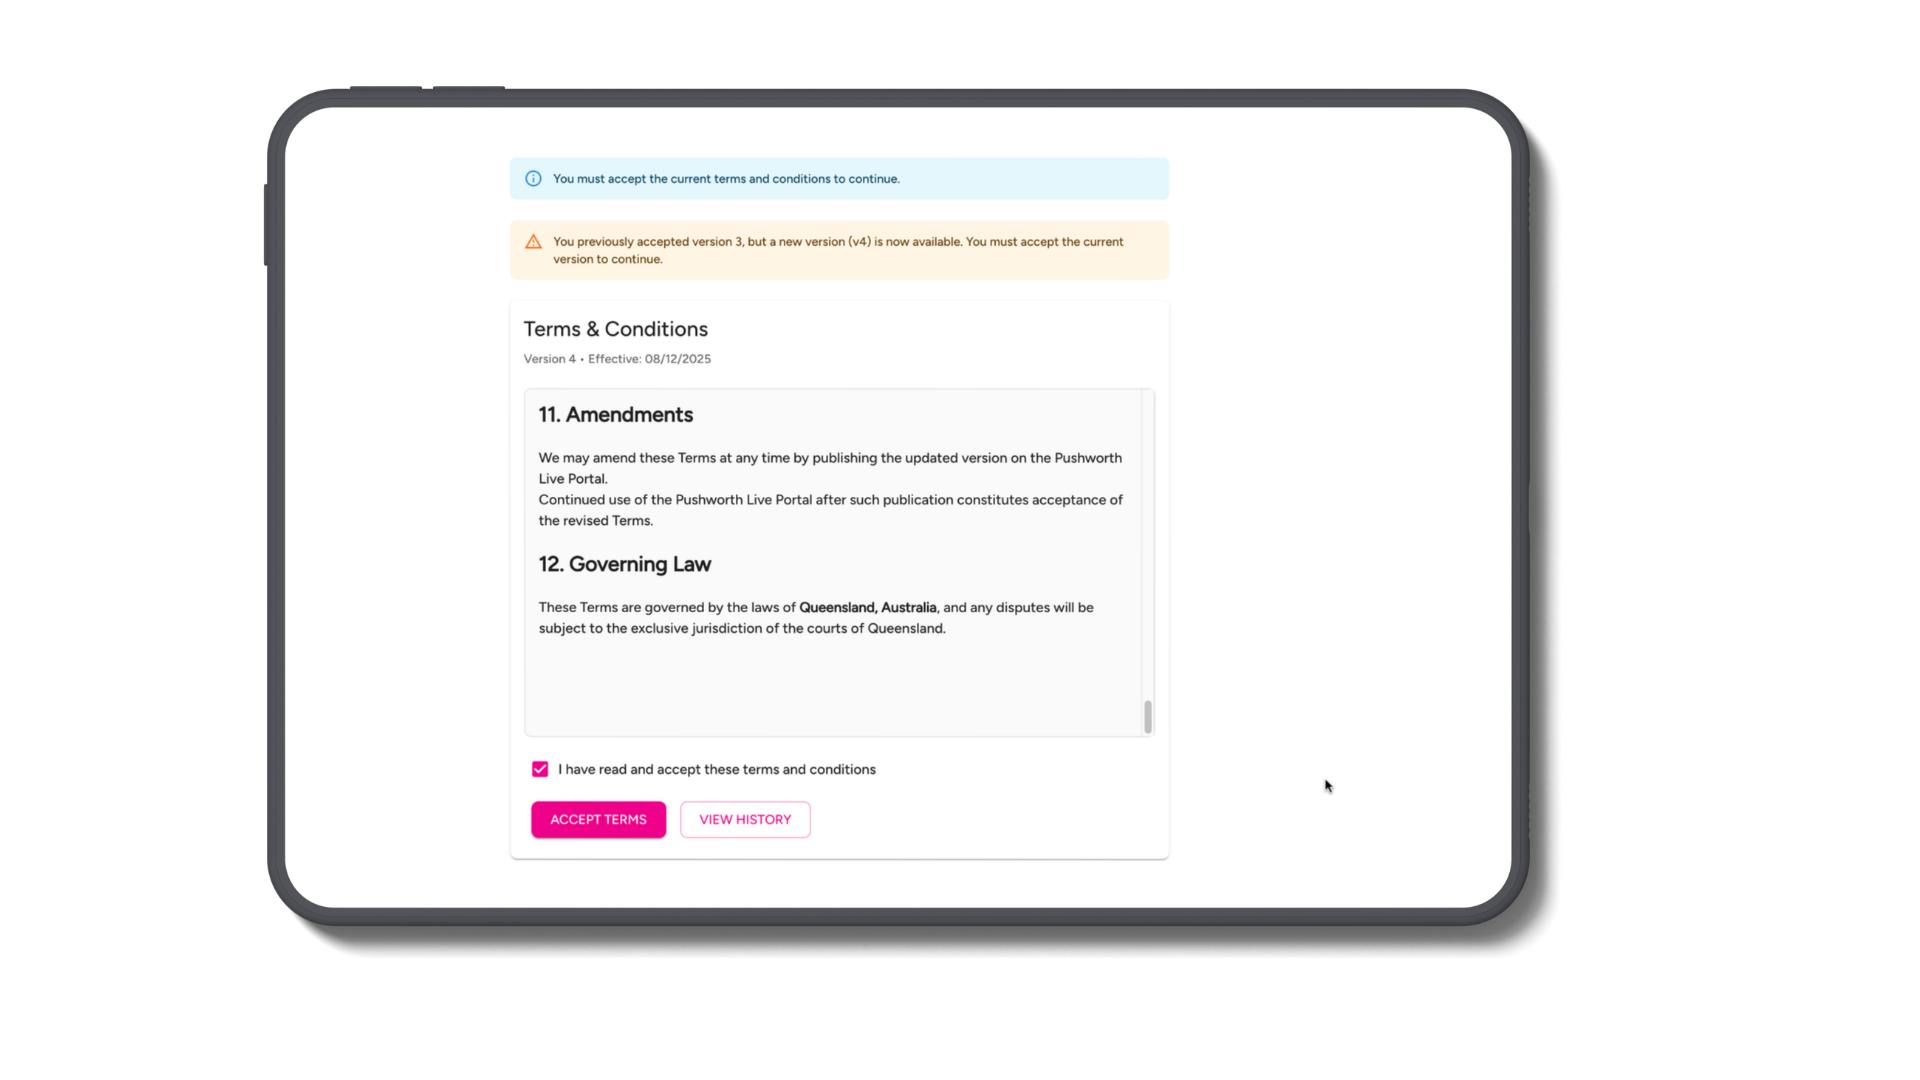
Review and accept the current Terms and Conditions.
If you haven't logged into the Portal for more than 30 days, your previous Terms acceptance is cleared.
Simply log back in, review the current Terms and Conditions and accept them again.
Google Chrome or Apple Safari.
The Portal works on mobile. A desktop, laptop or tablet provides the best experience for administrative tasks.
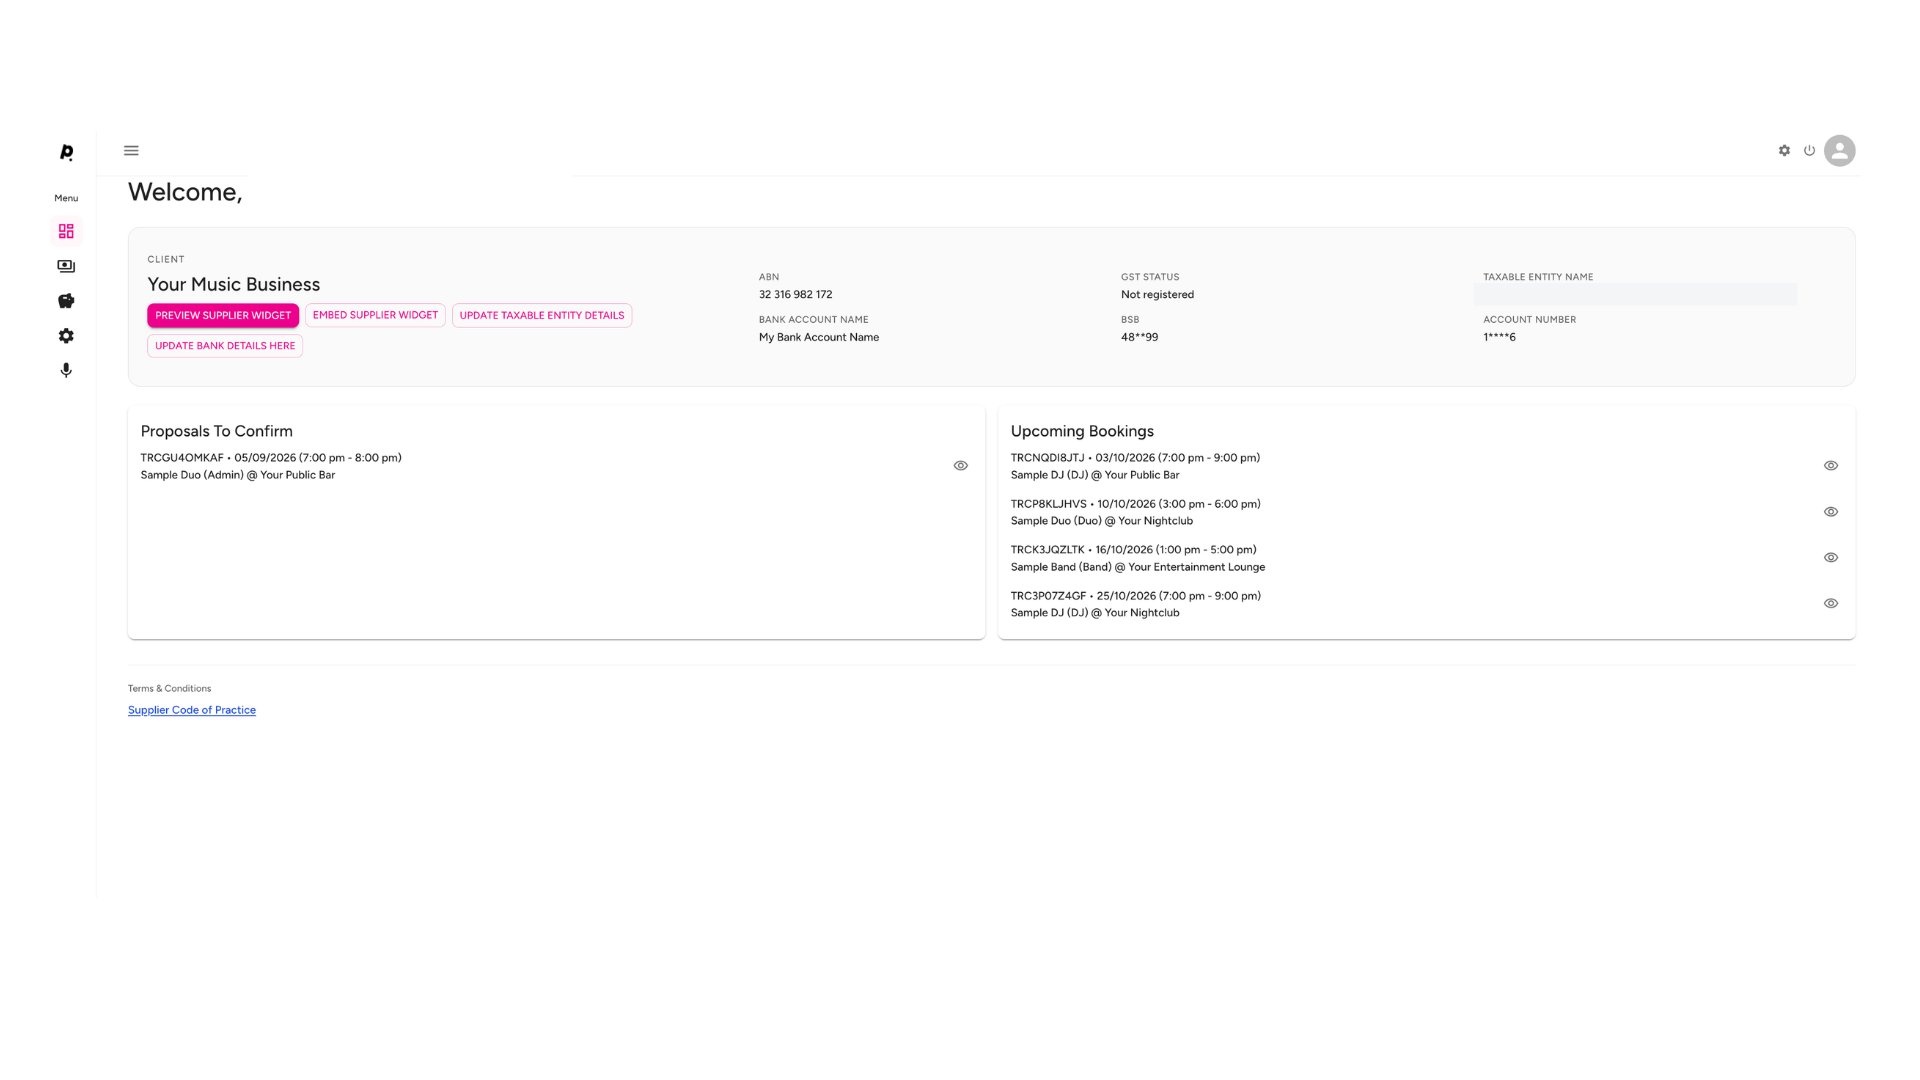
Your Main Dashboard is the first screen you see when you log into Pushworth Live.
Open your Calendar or Gig Guide Widget directly from your Main Dashboard.
Your ABN, GST Status, Taxable Entity Name and bank account details are displayed here.
New booking proposals requiring your confirmation appear here.
Your confirmed upcoming Pushworth bookings appear here.
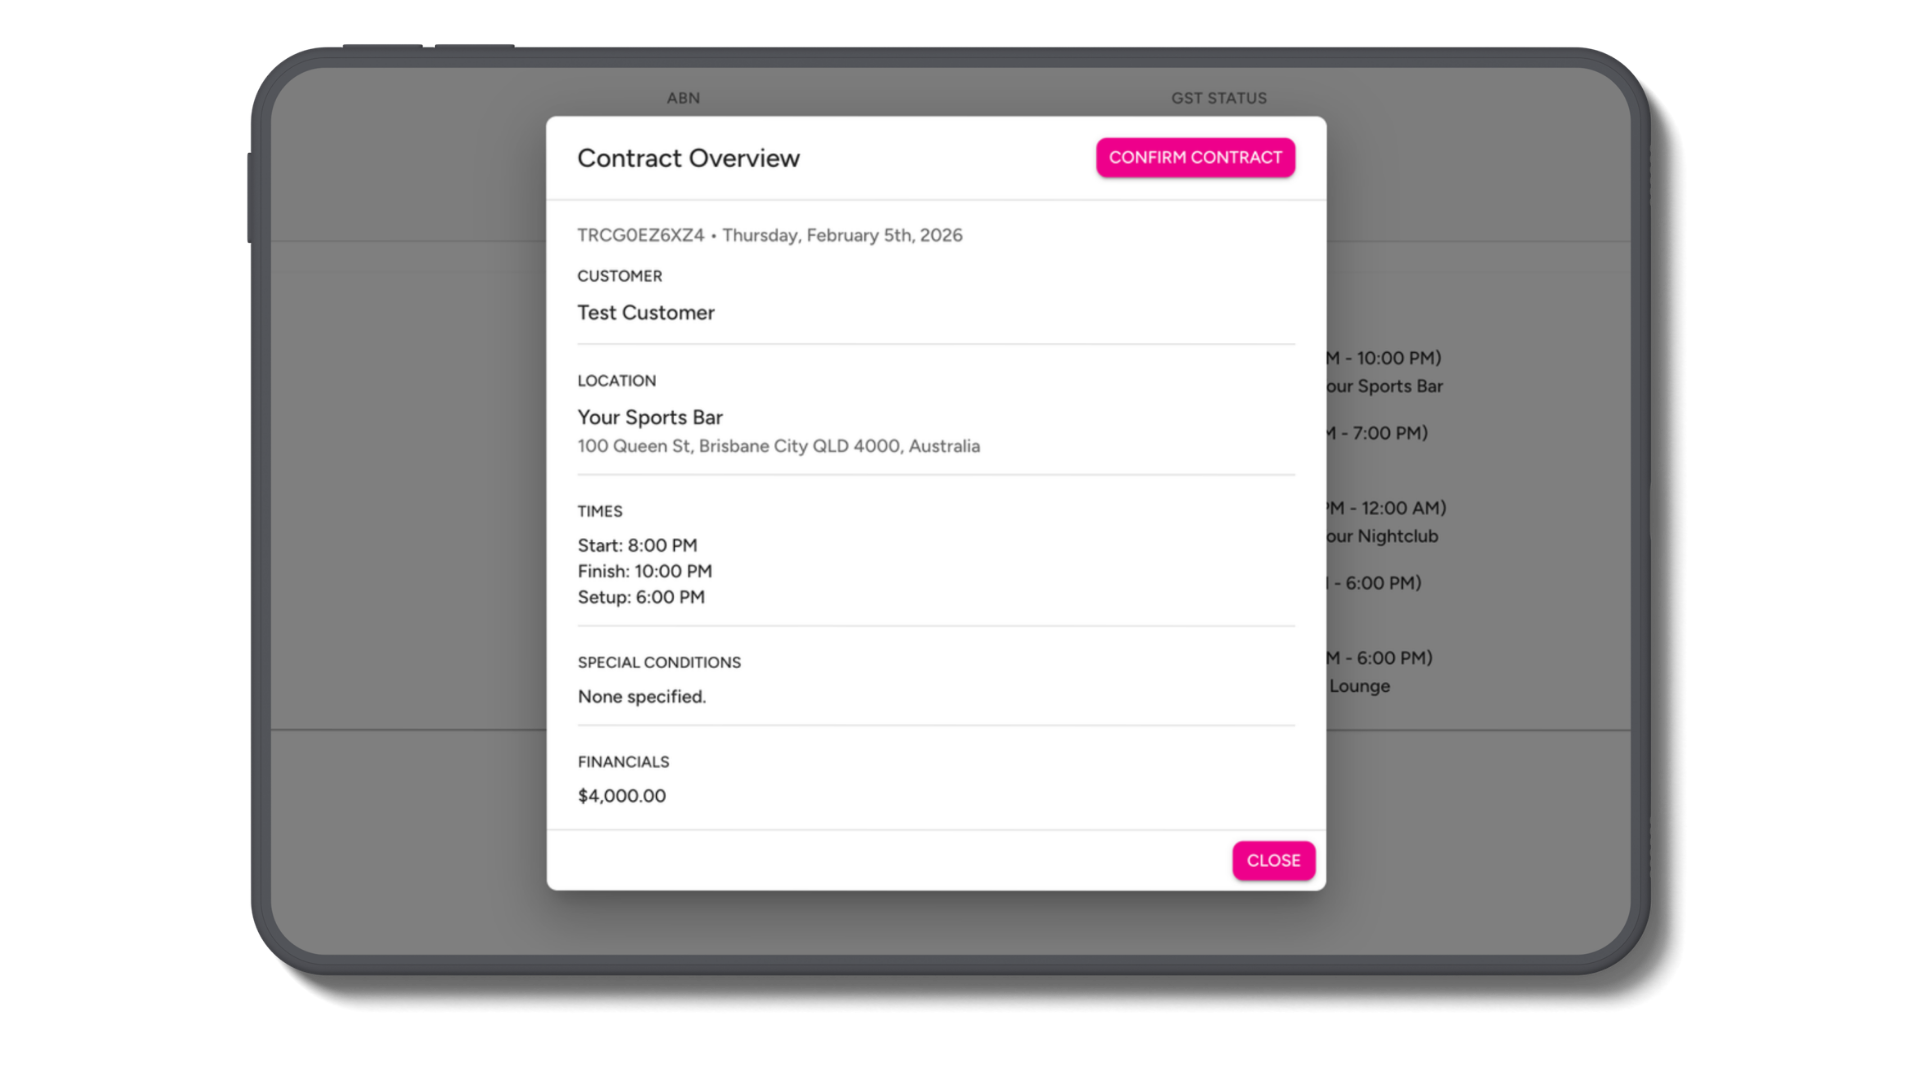
Click the Eye beside a Proposal or Upcoming Booking to open the complete Gig Contract.
Review the booking details, performance times, venue information, payment details and relevant conditions.
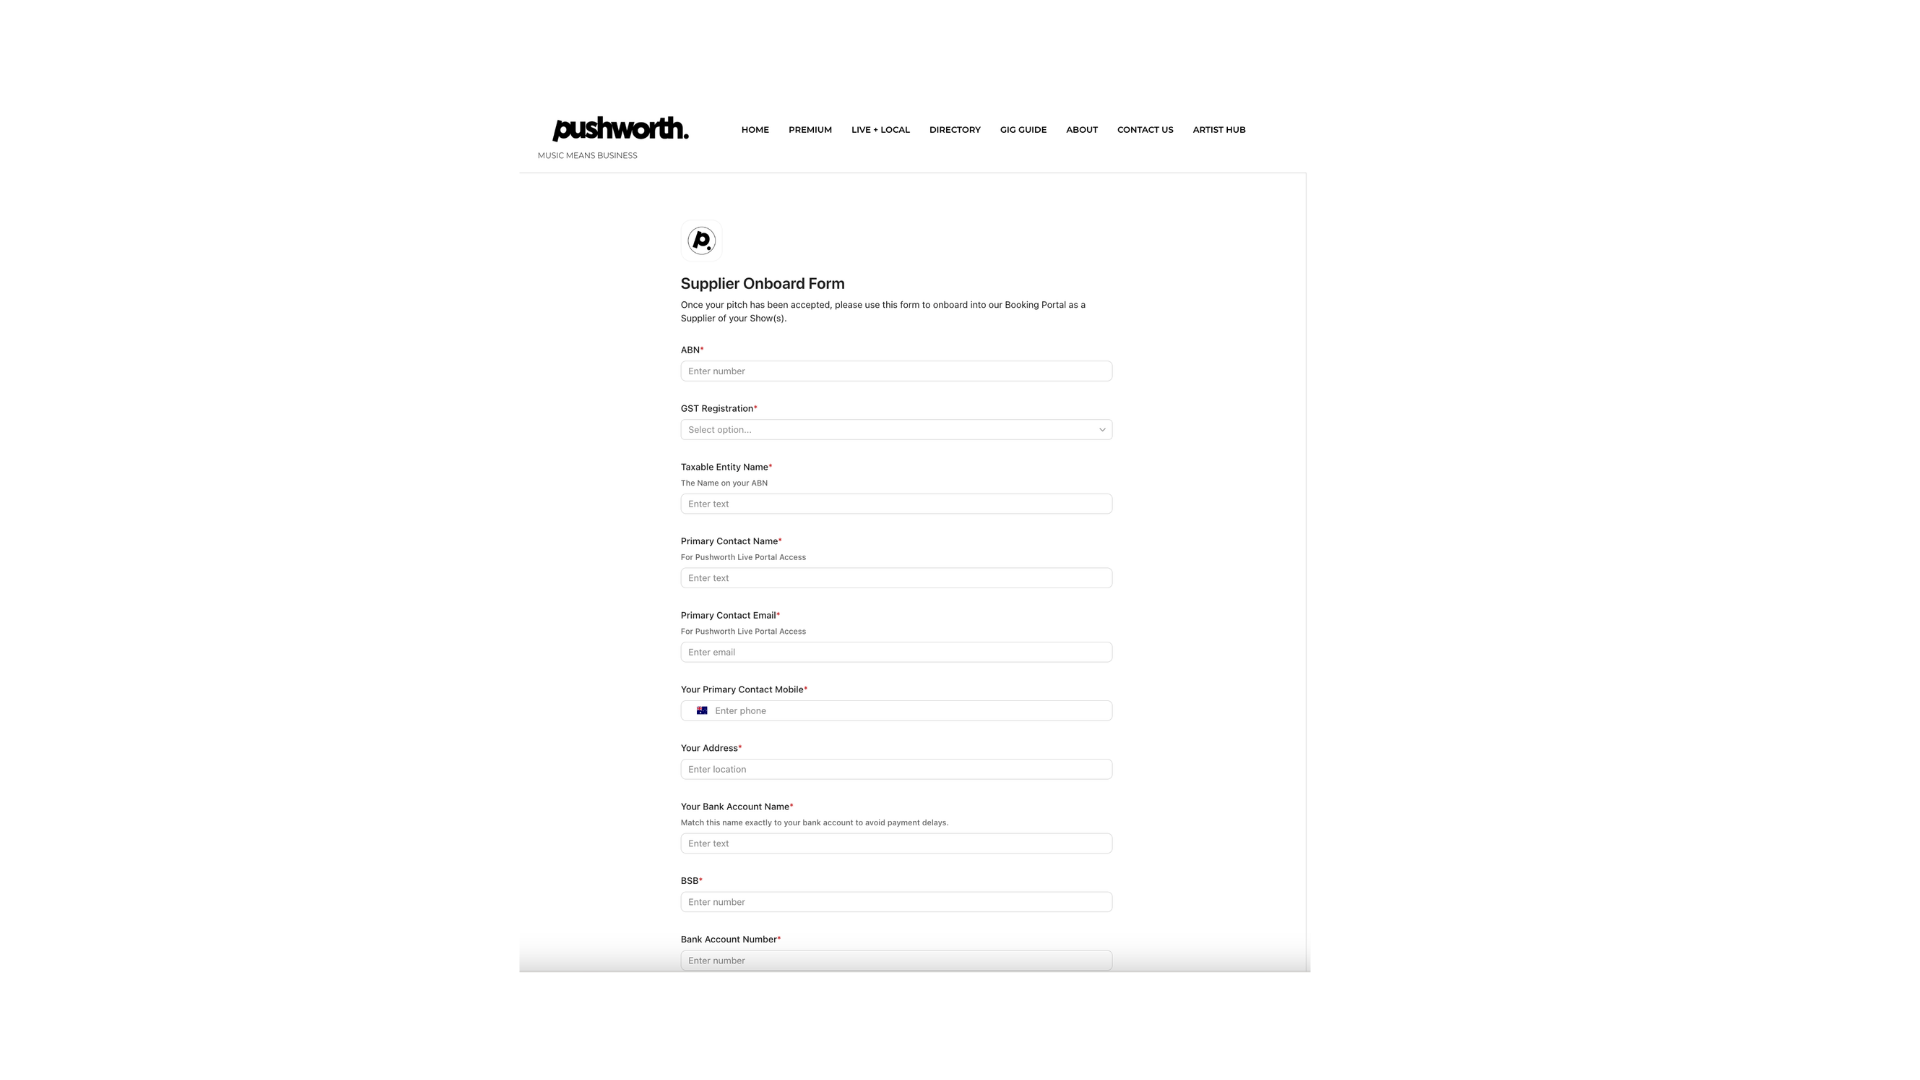
If your ABN, GST Status or Taxable Entity Name needs to change, use the Update Taxable Entity Details option from your Main Dashboard.
Complete the onboarding form with the updated information.
You can request replacement bank details directly through your Main Dashboard.
Your existing bank details remain unchanged until the replacement information has been reviewed and approved.
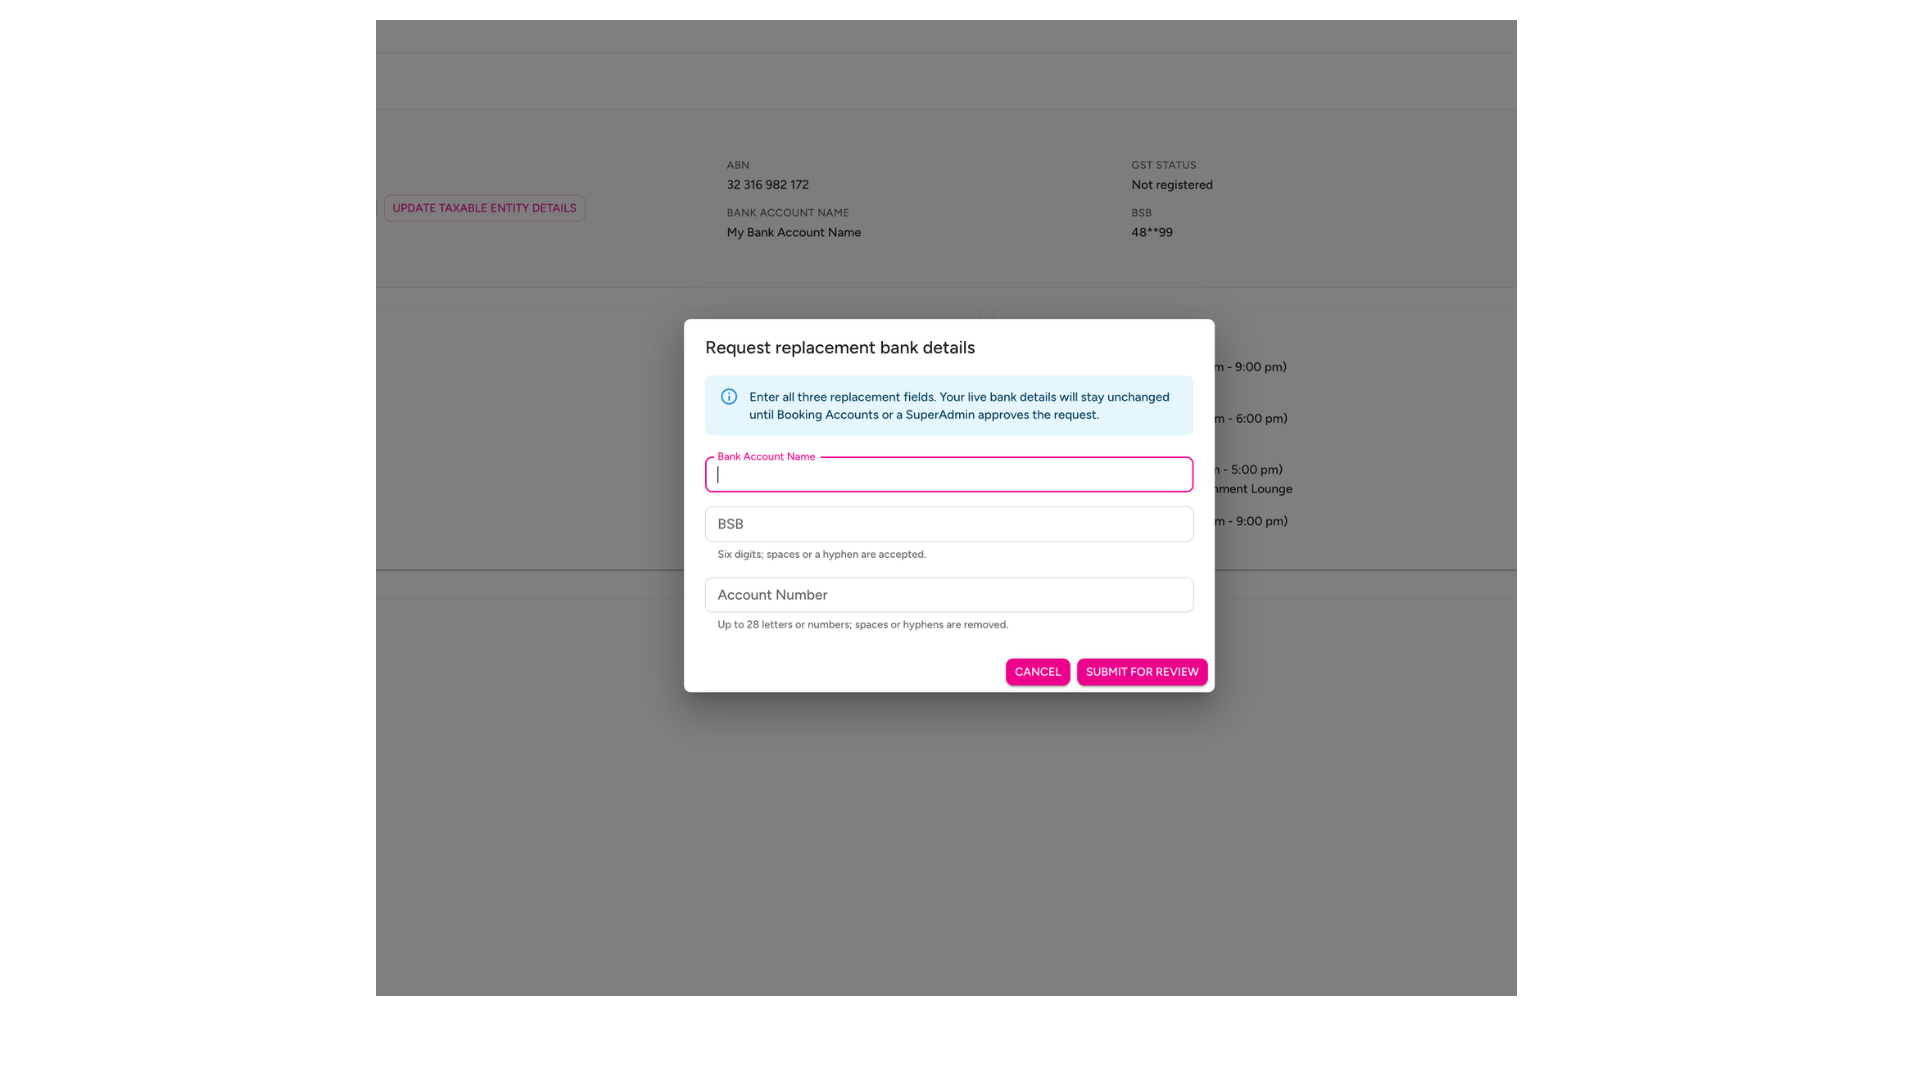
Keep your Taxable Entity and Bank Account details current so Pushworth can process your payments without unnecessary delays.
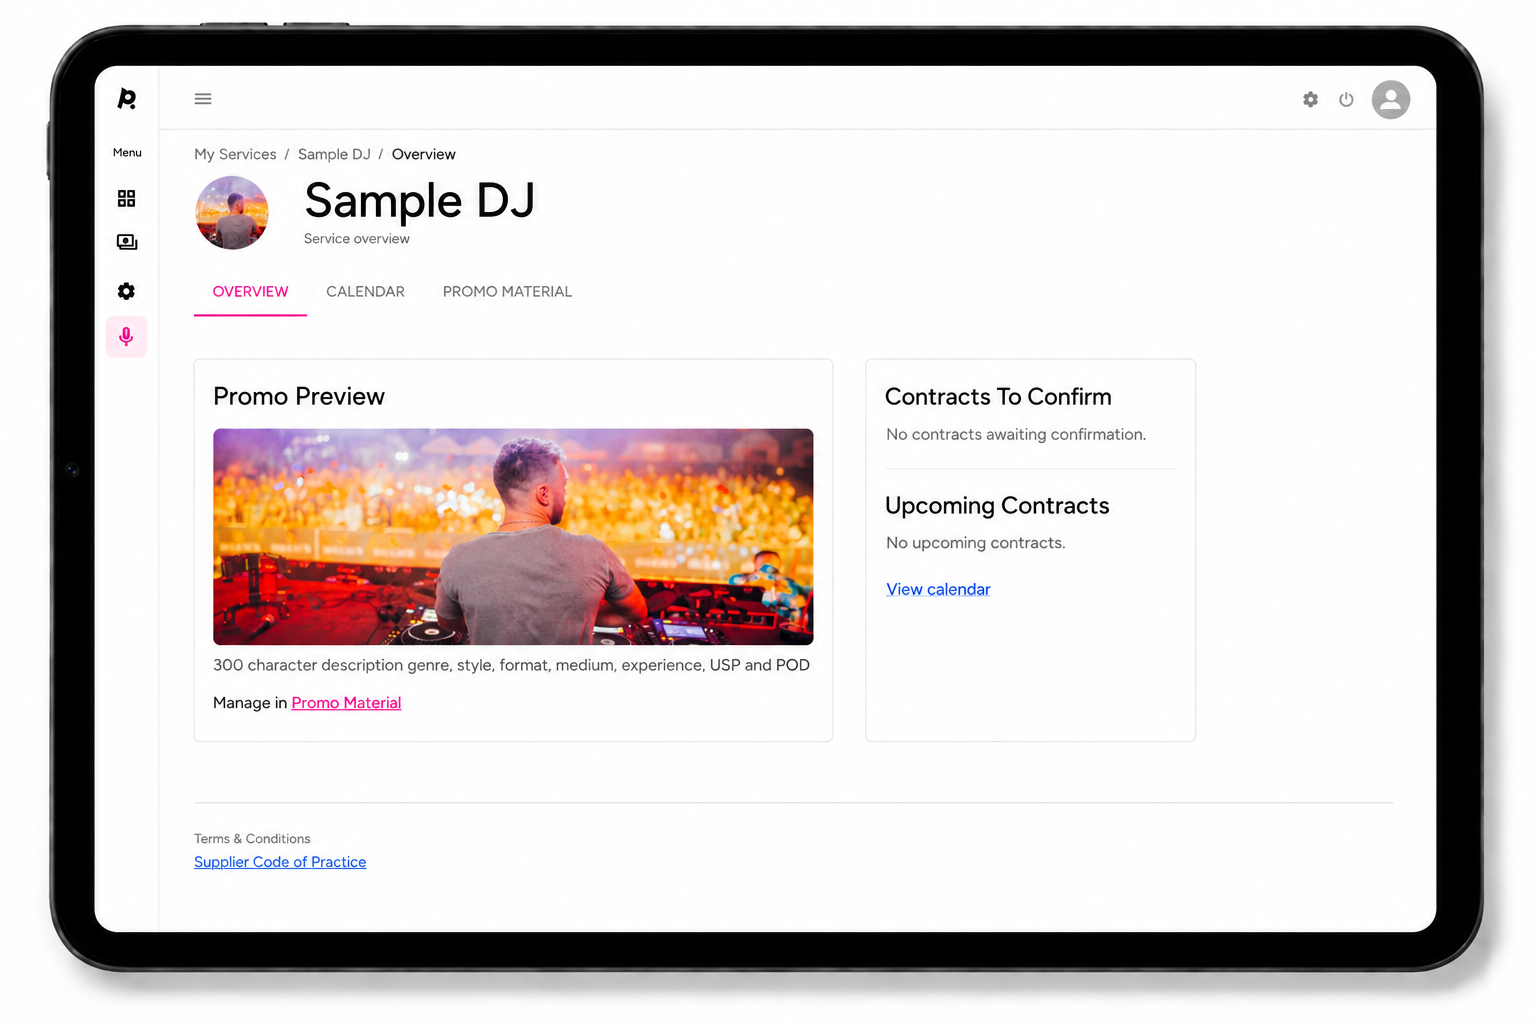
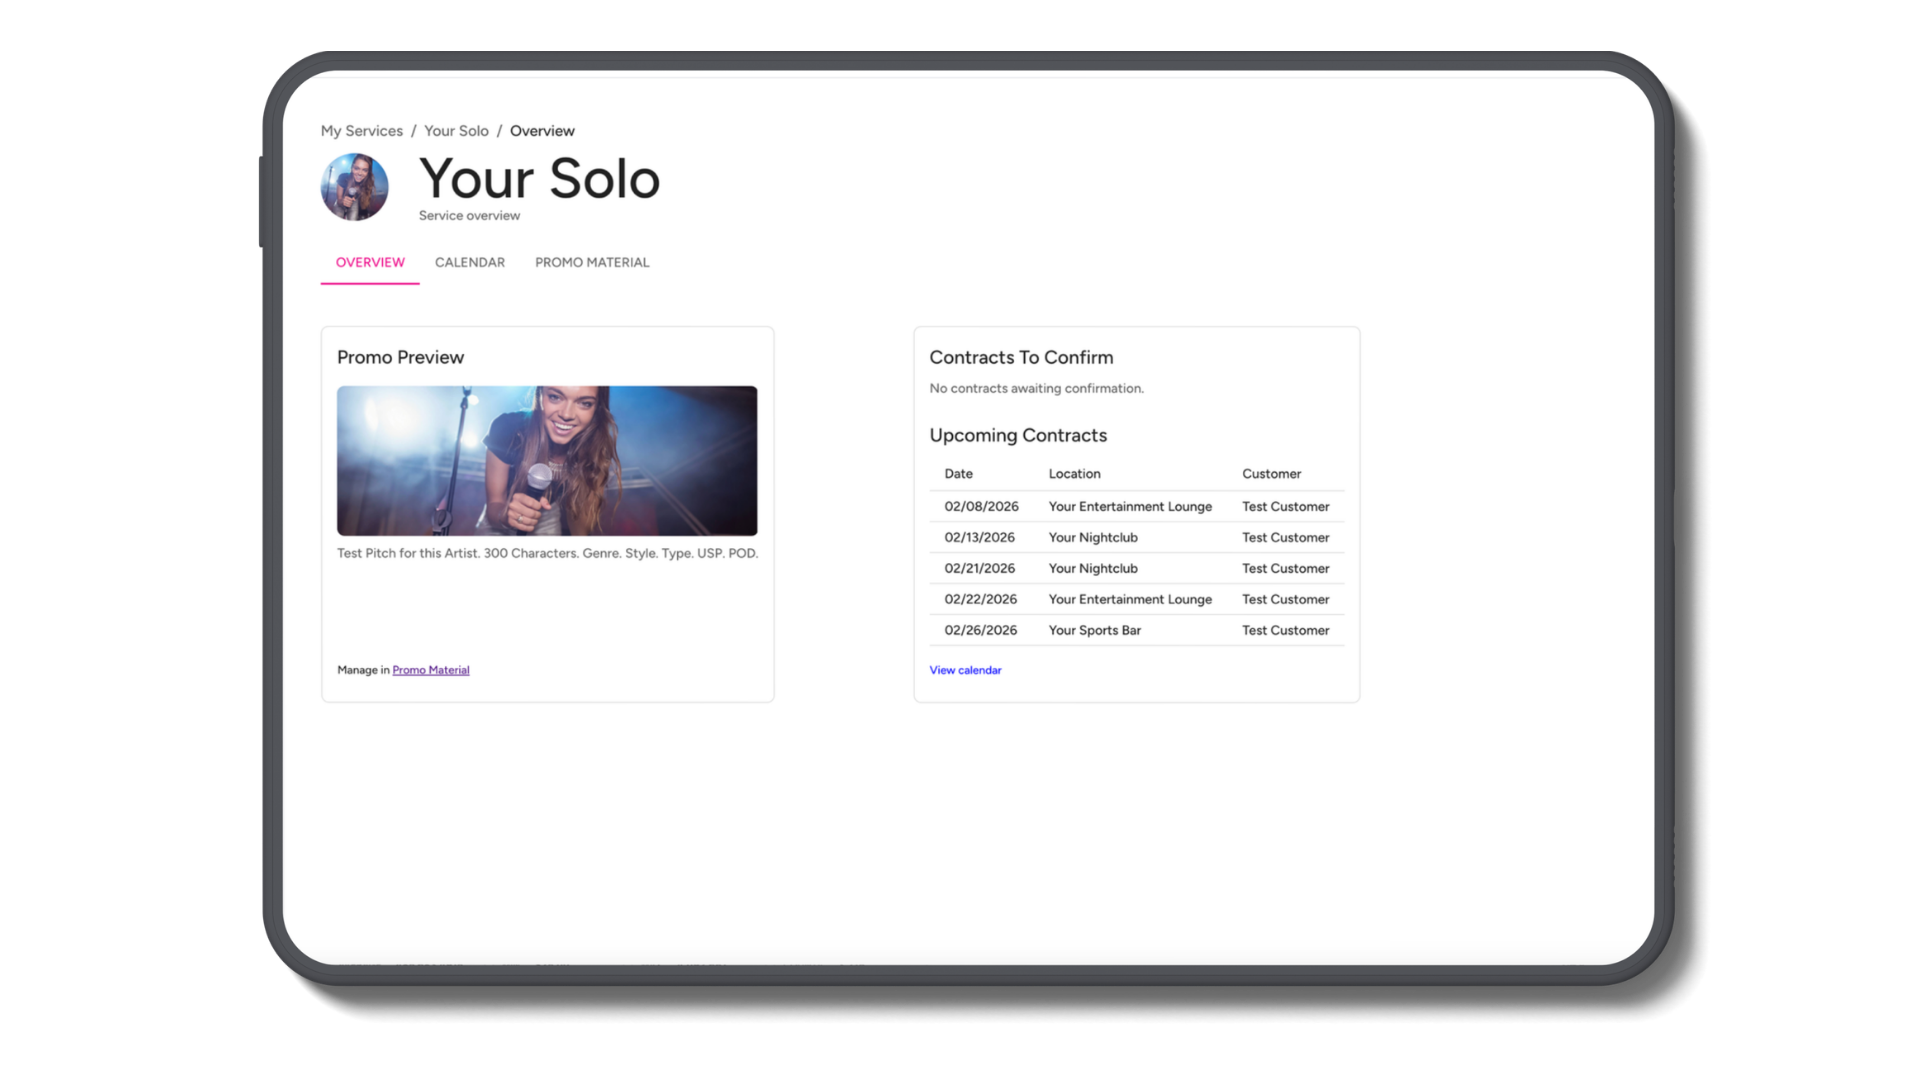
Each Service has its own Overview, Calendar and Promo Material.
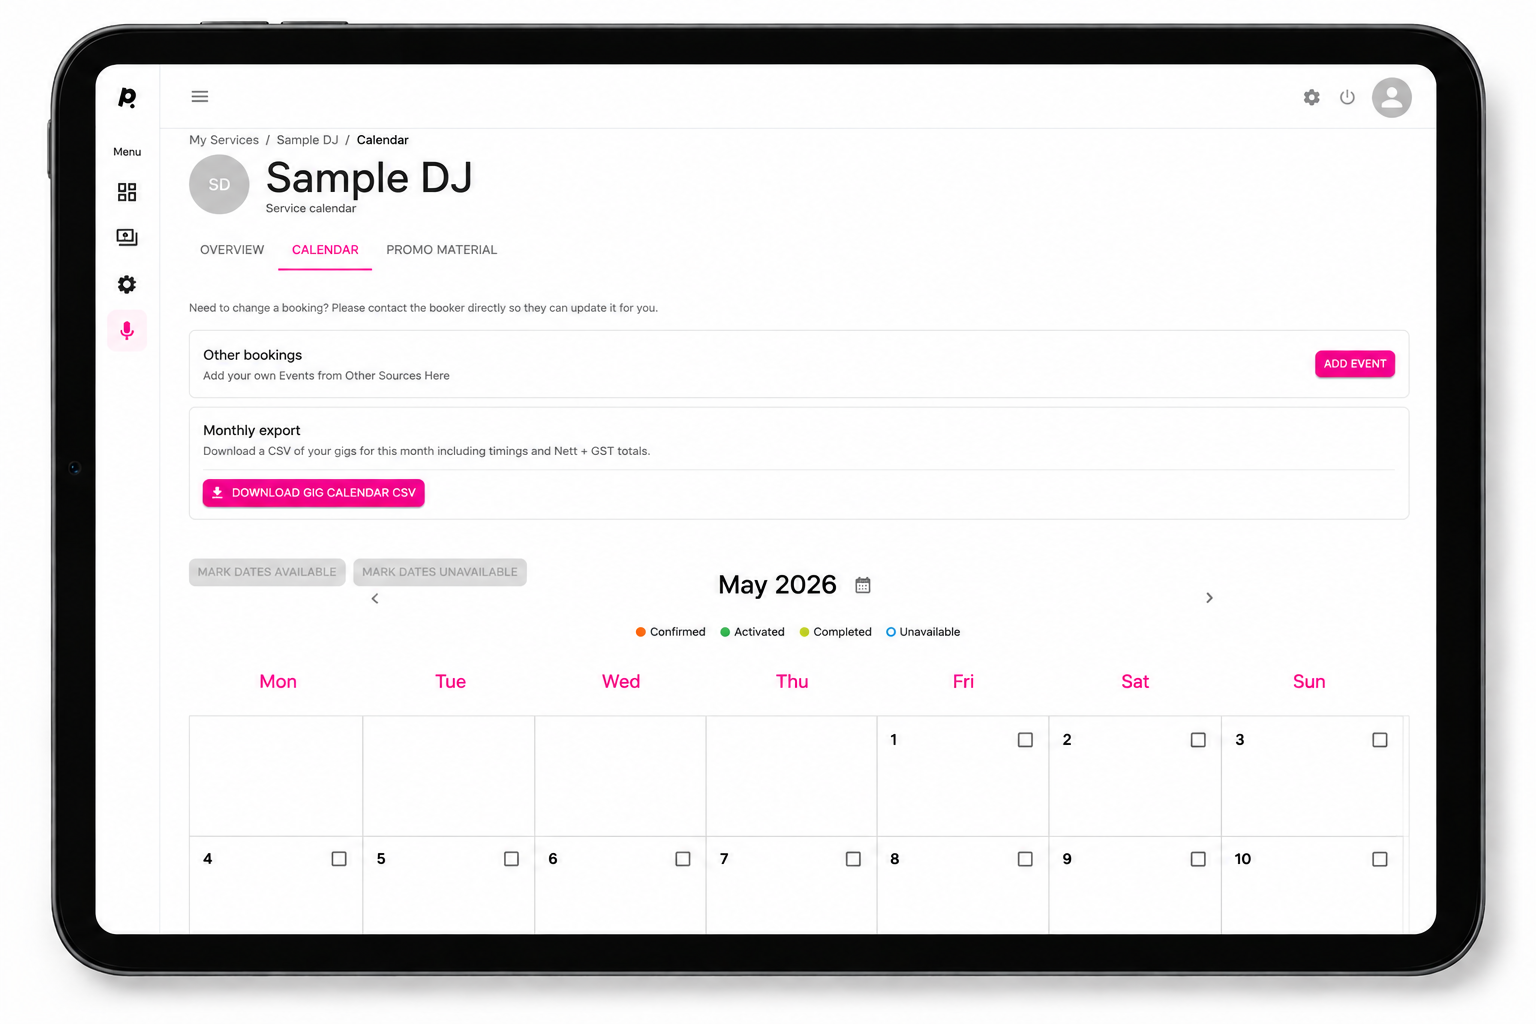
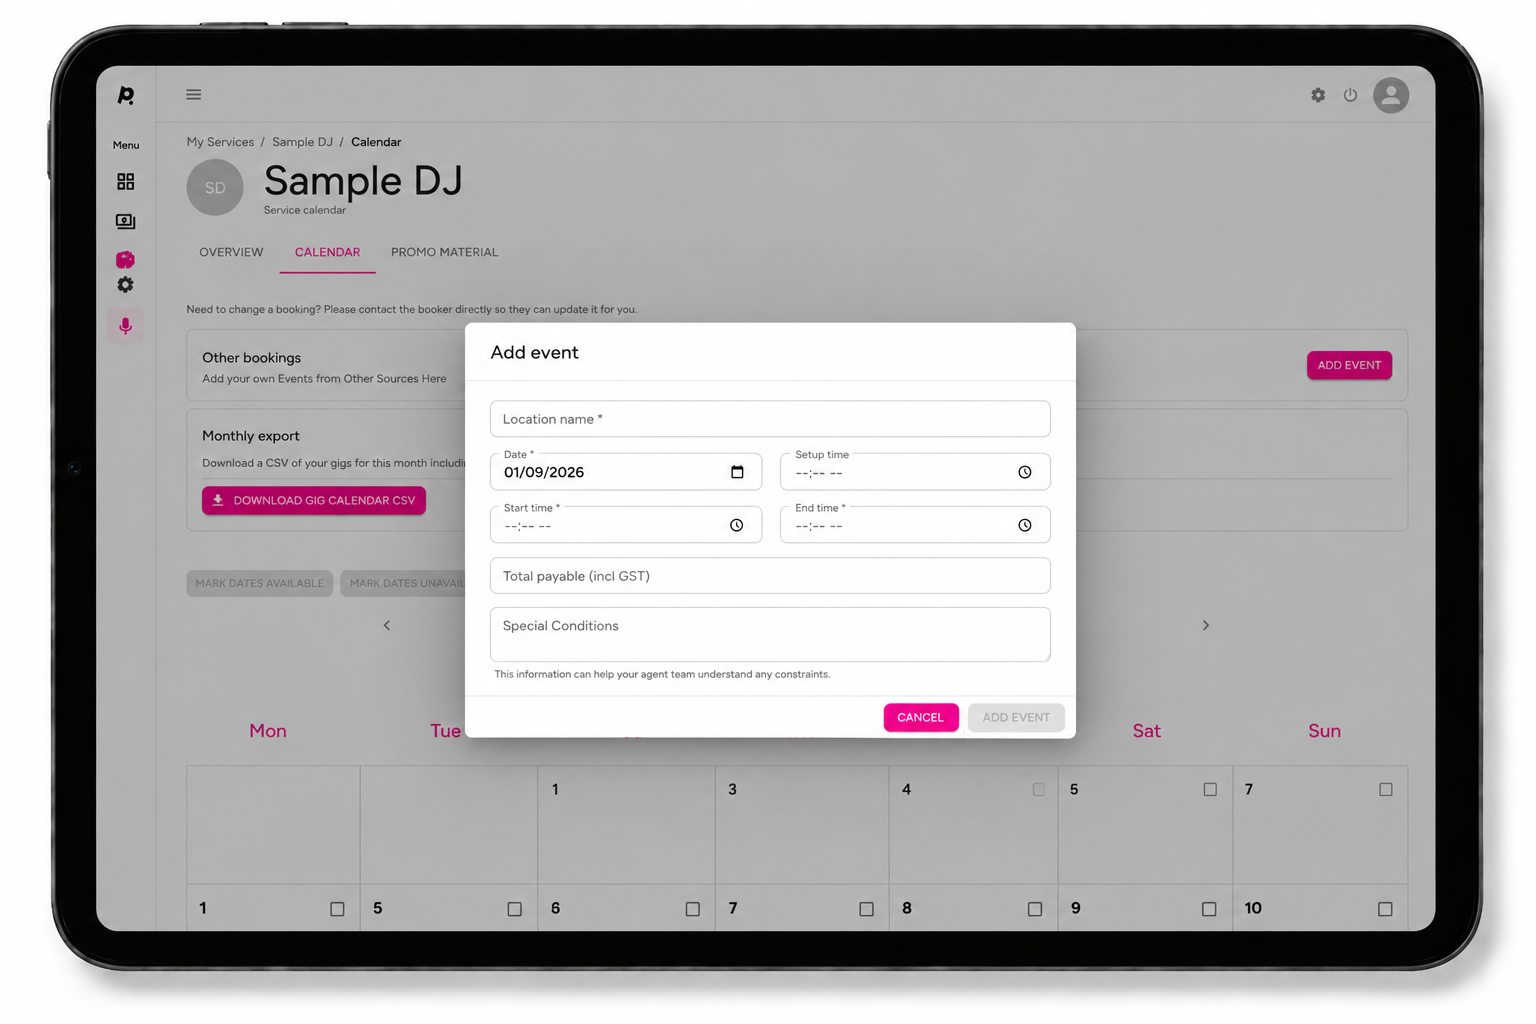
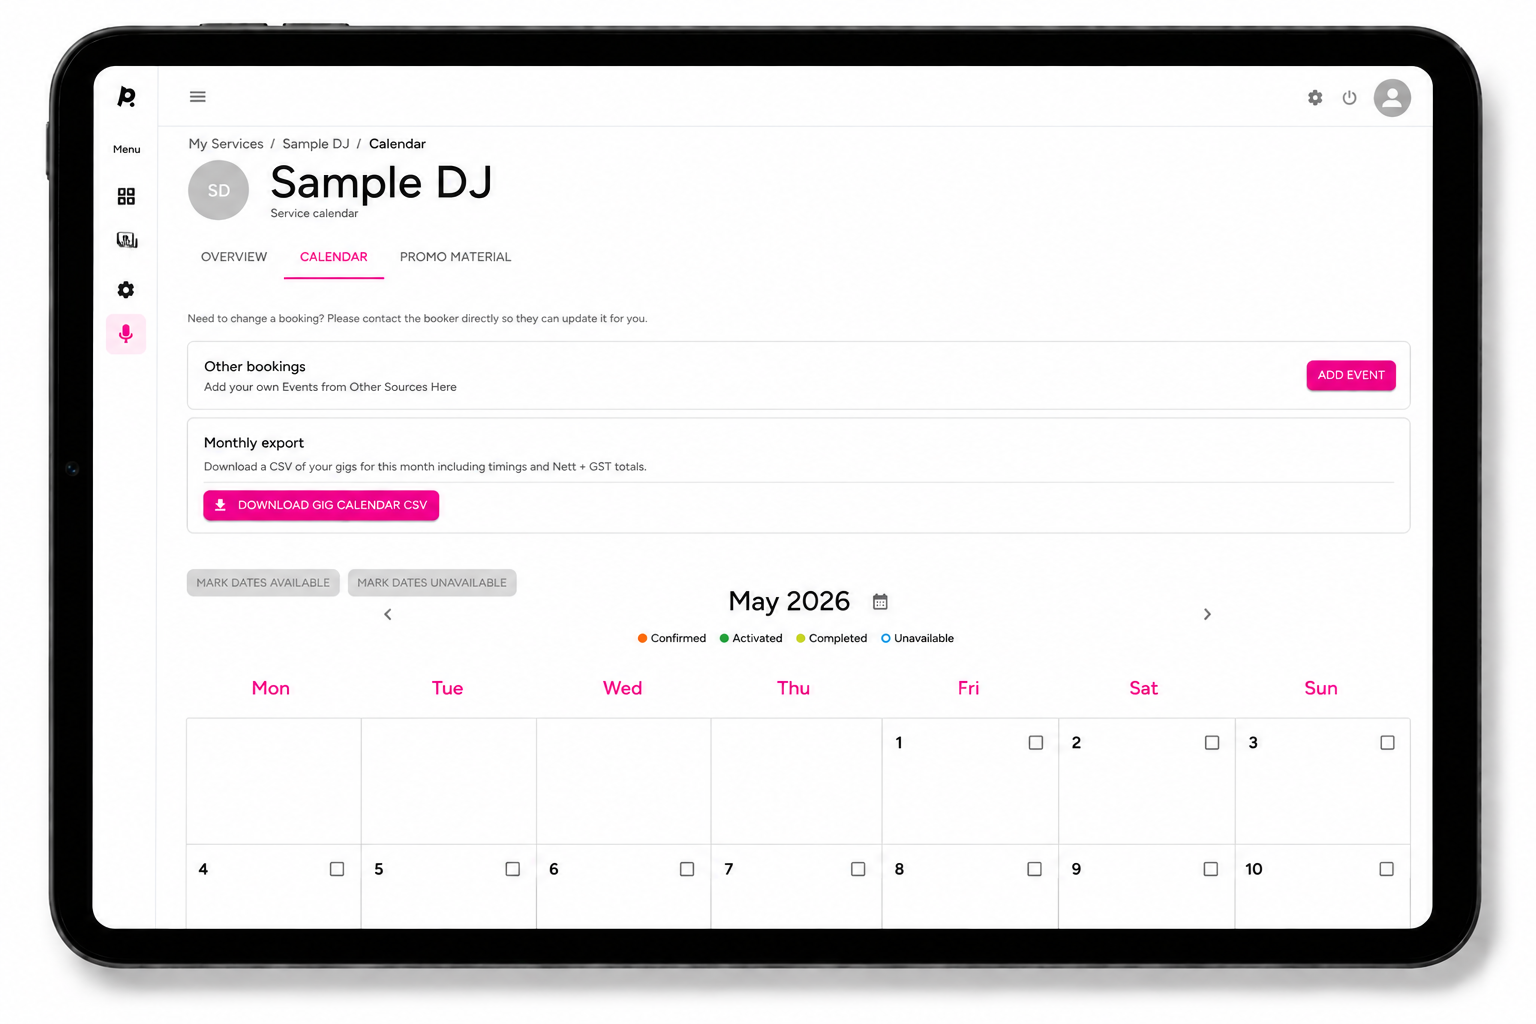
Add gigs booked outside Pushworth so your availability remains accurate.
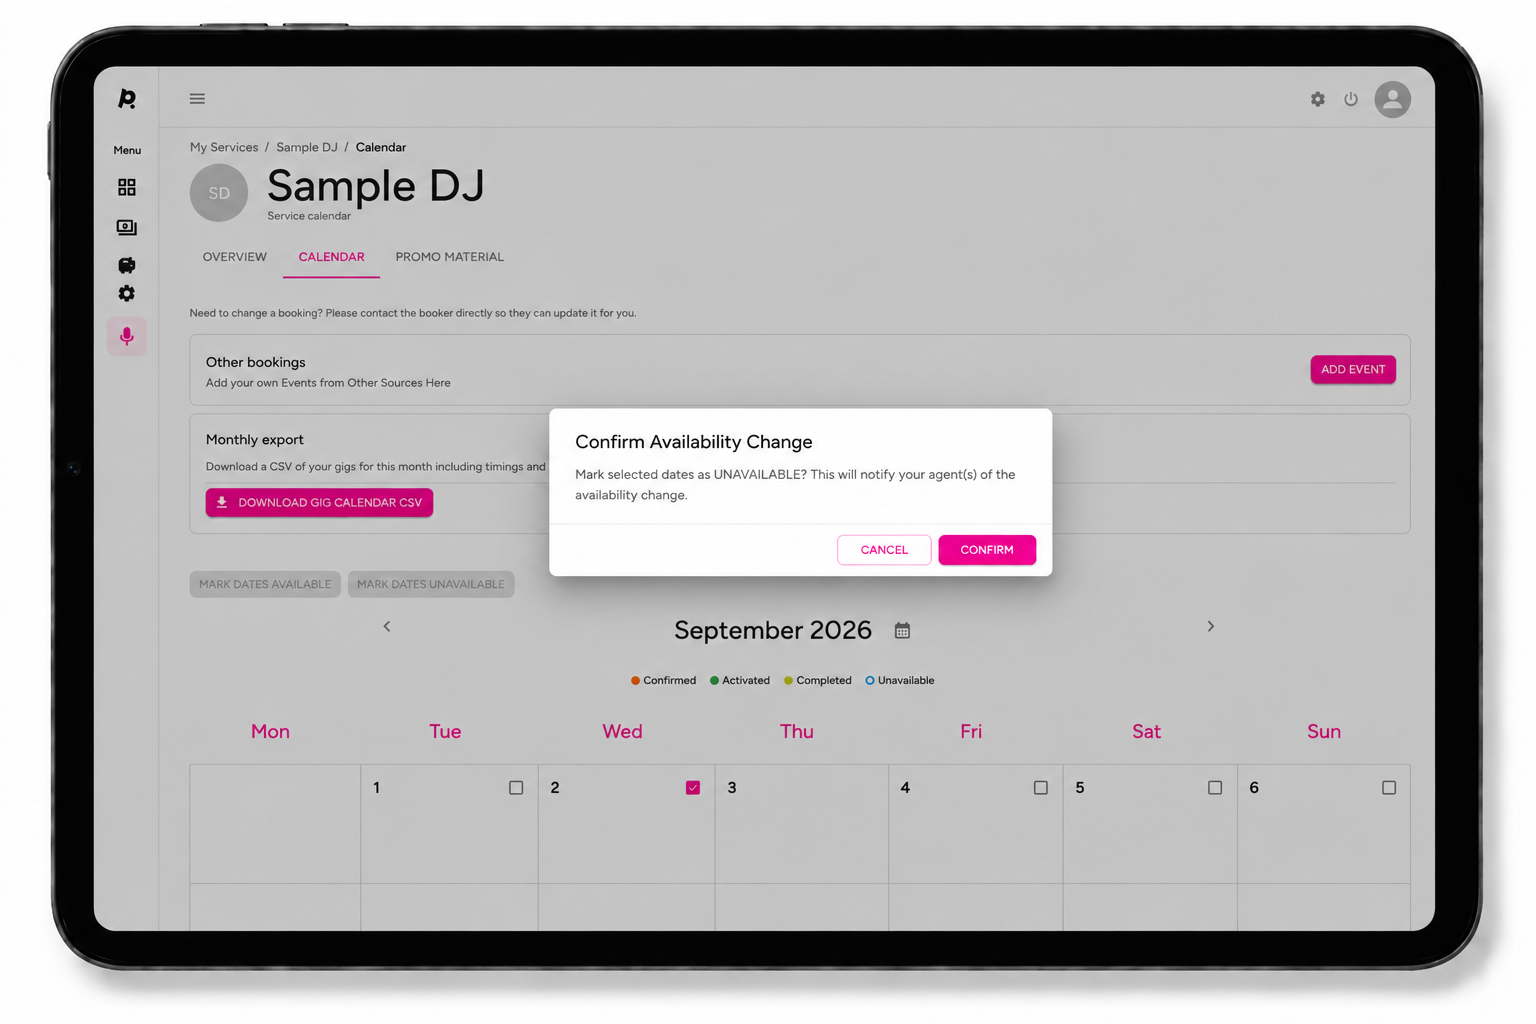
Mark dates when you are unavailable.
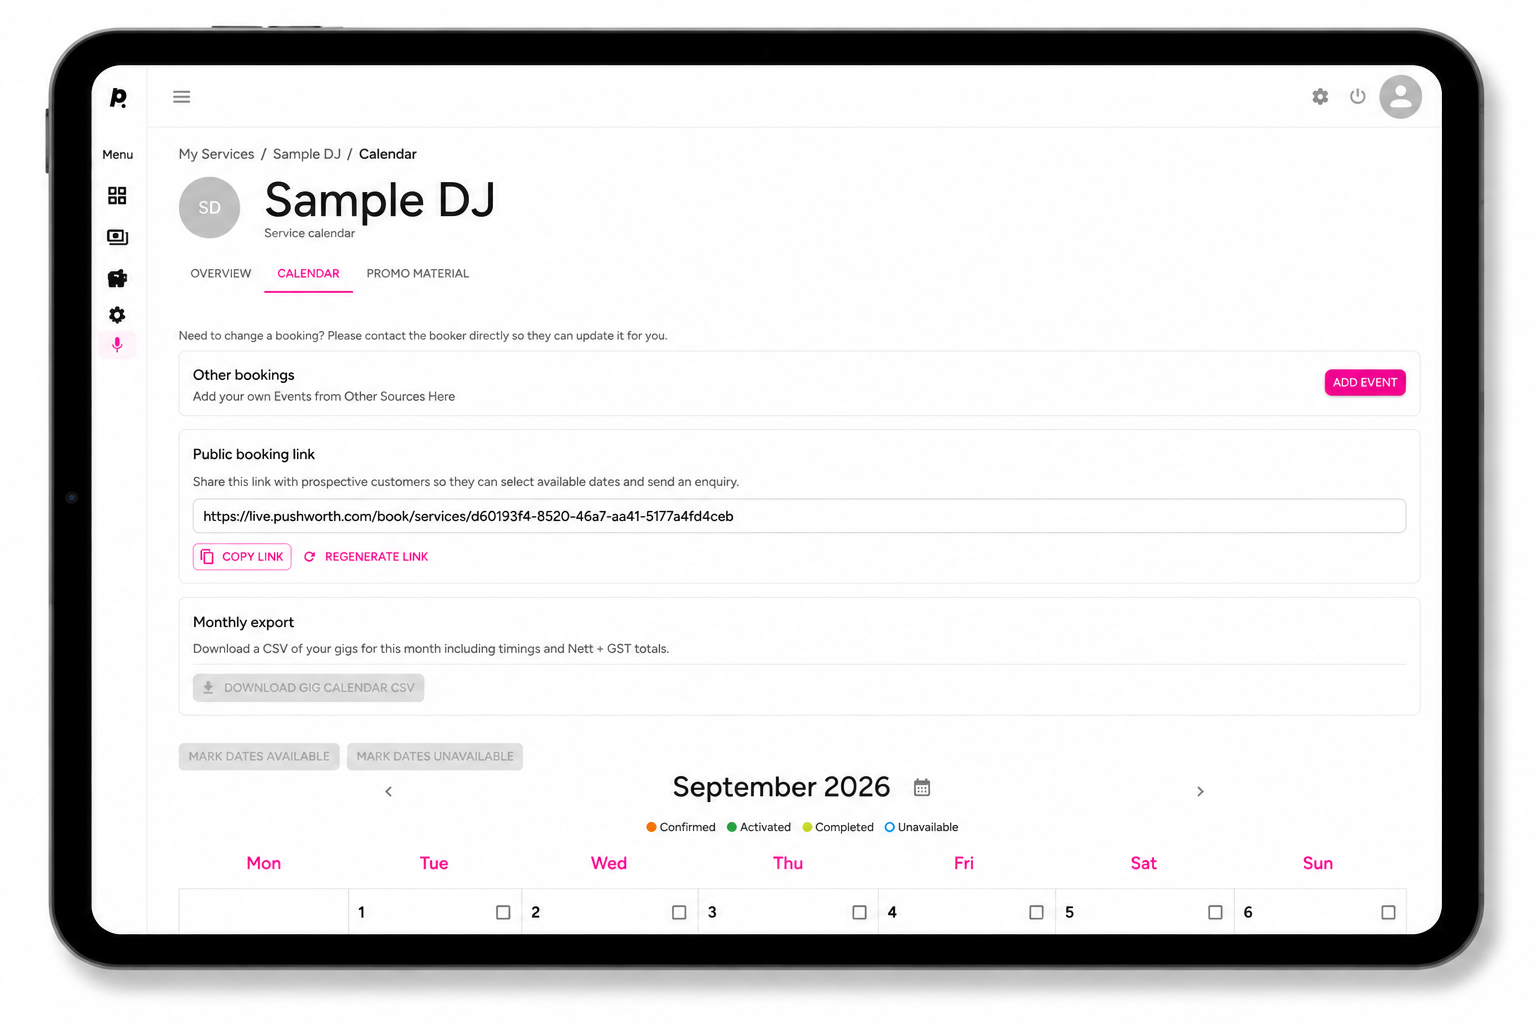
Copy your unique Public Booking Link from your Service Calendar.
Download your monthly Gig Calendar CSV.
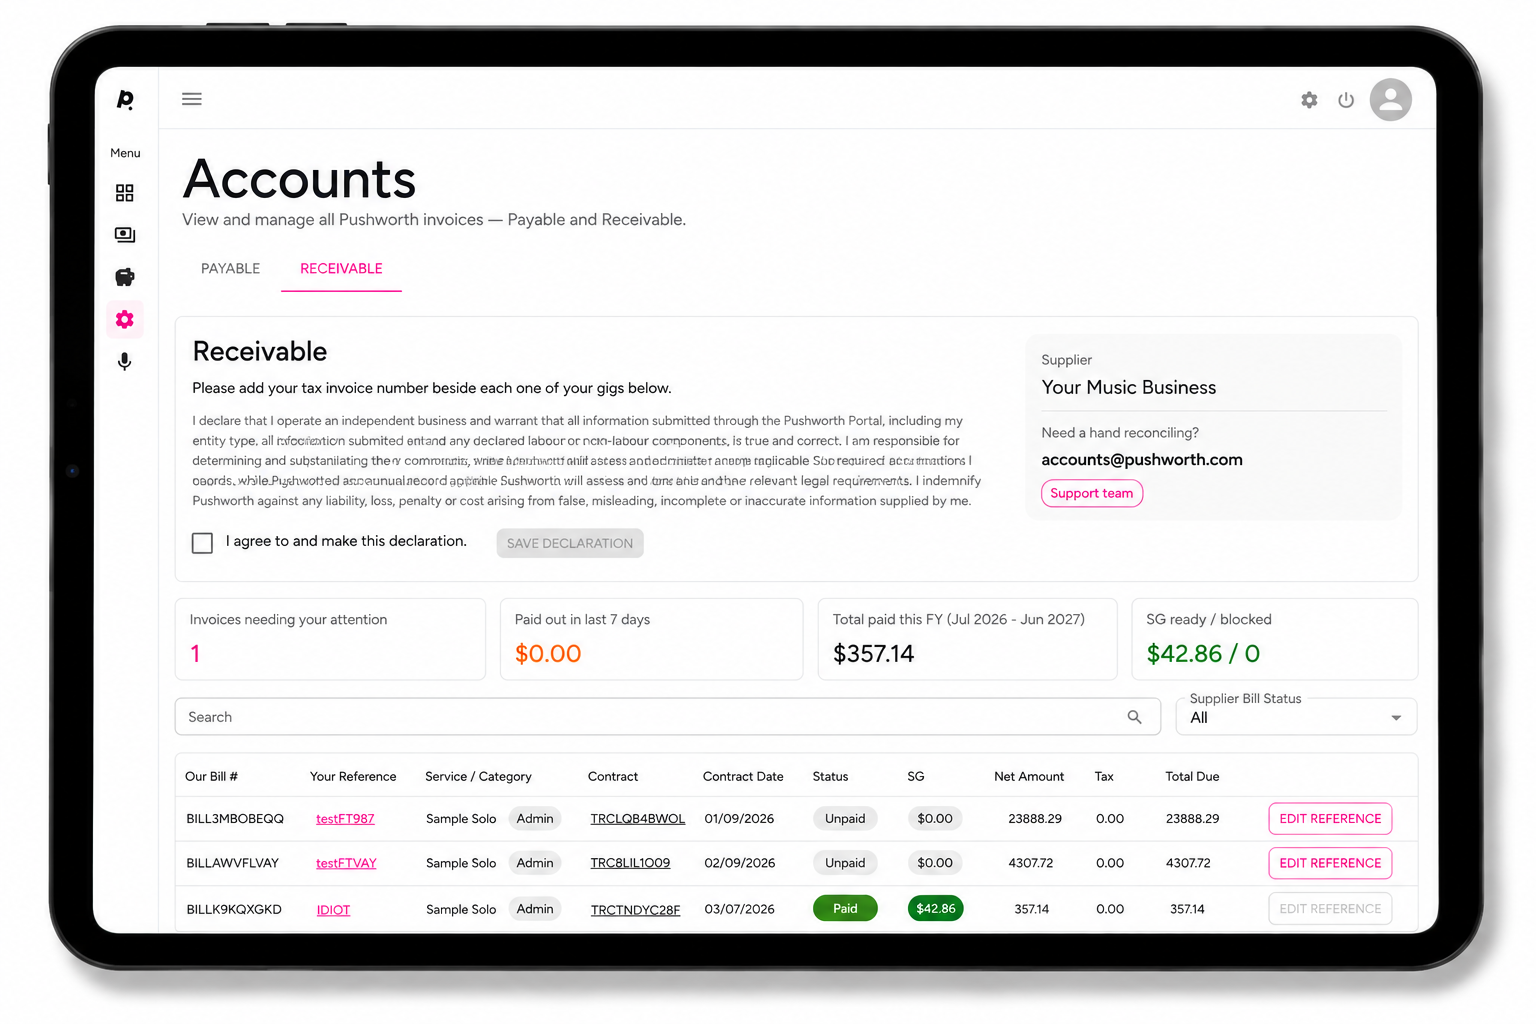
Once a Client approves the gig invoice, the Contract appears in your Receivables Grid.
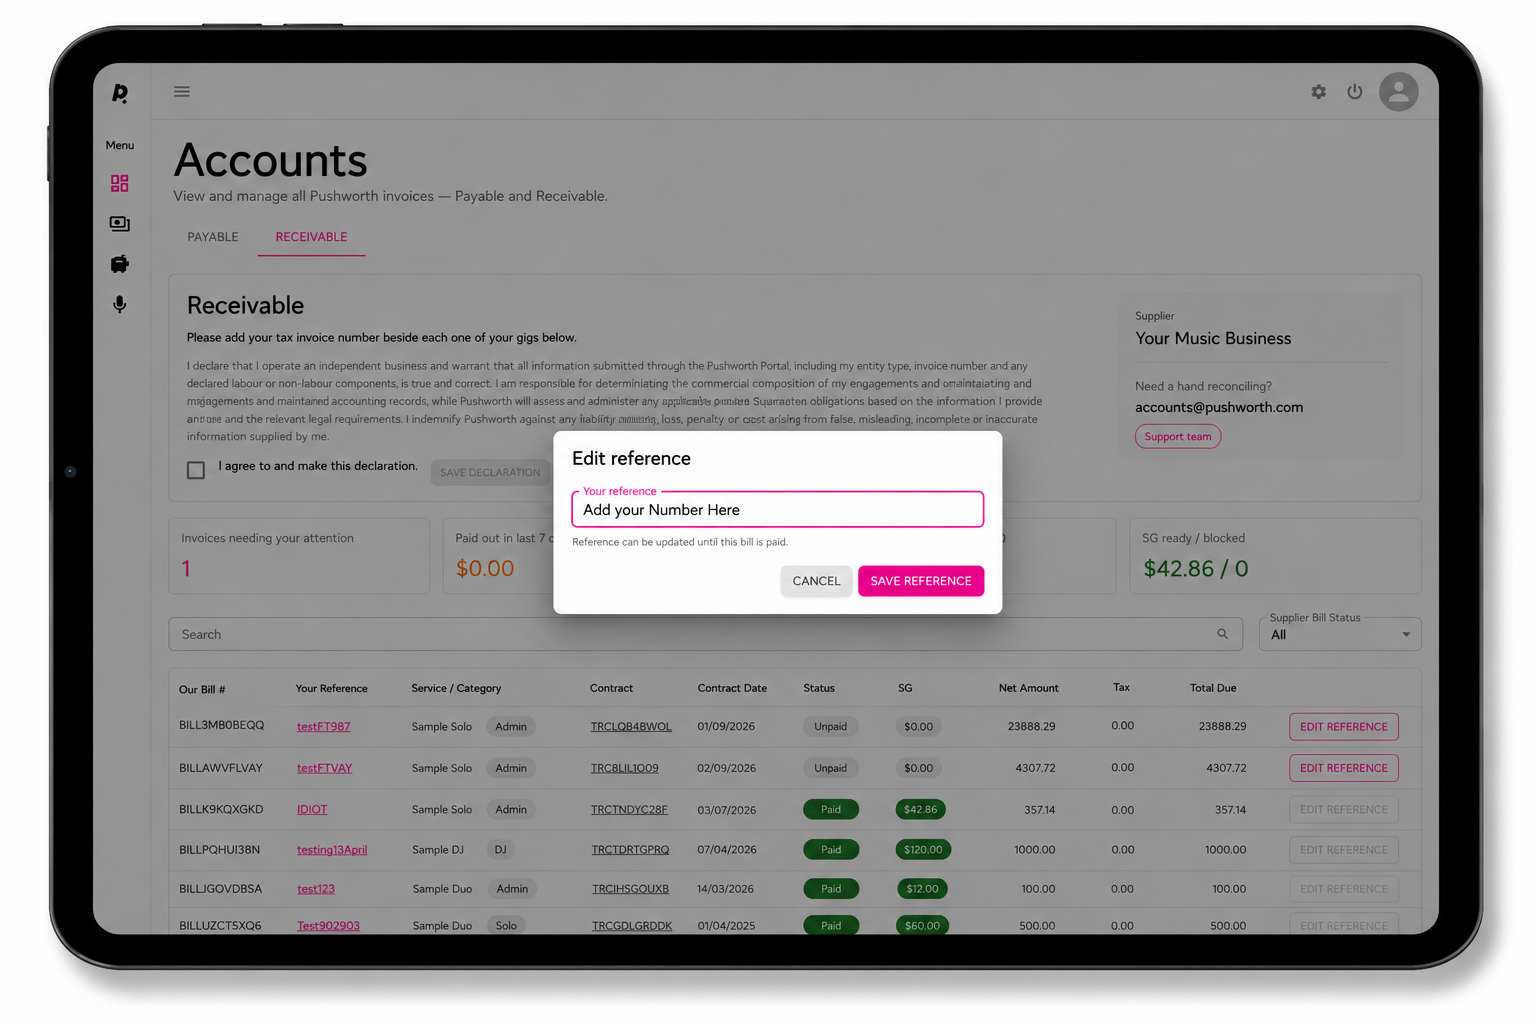
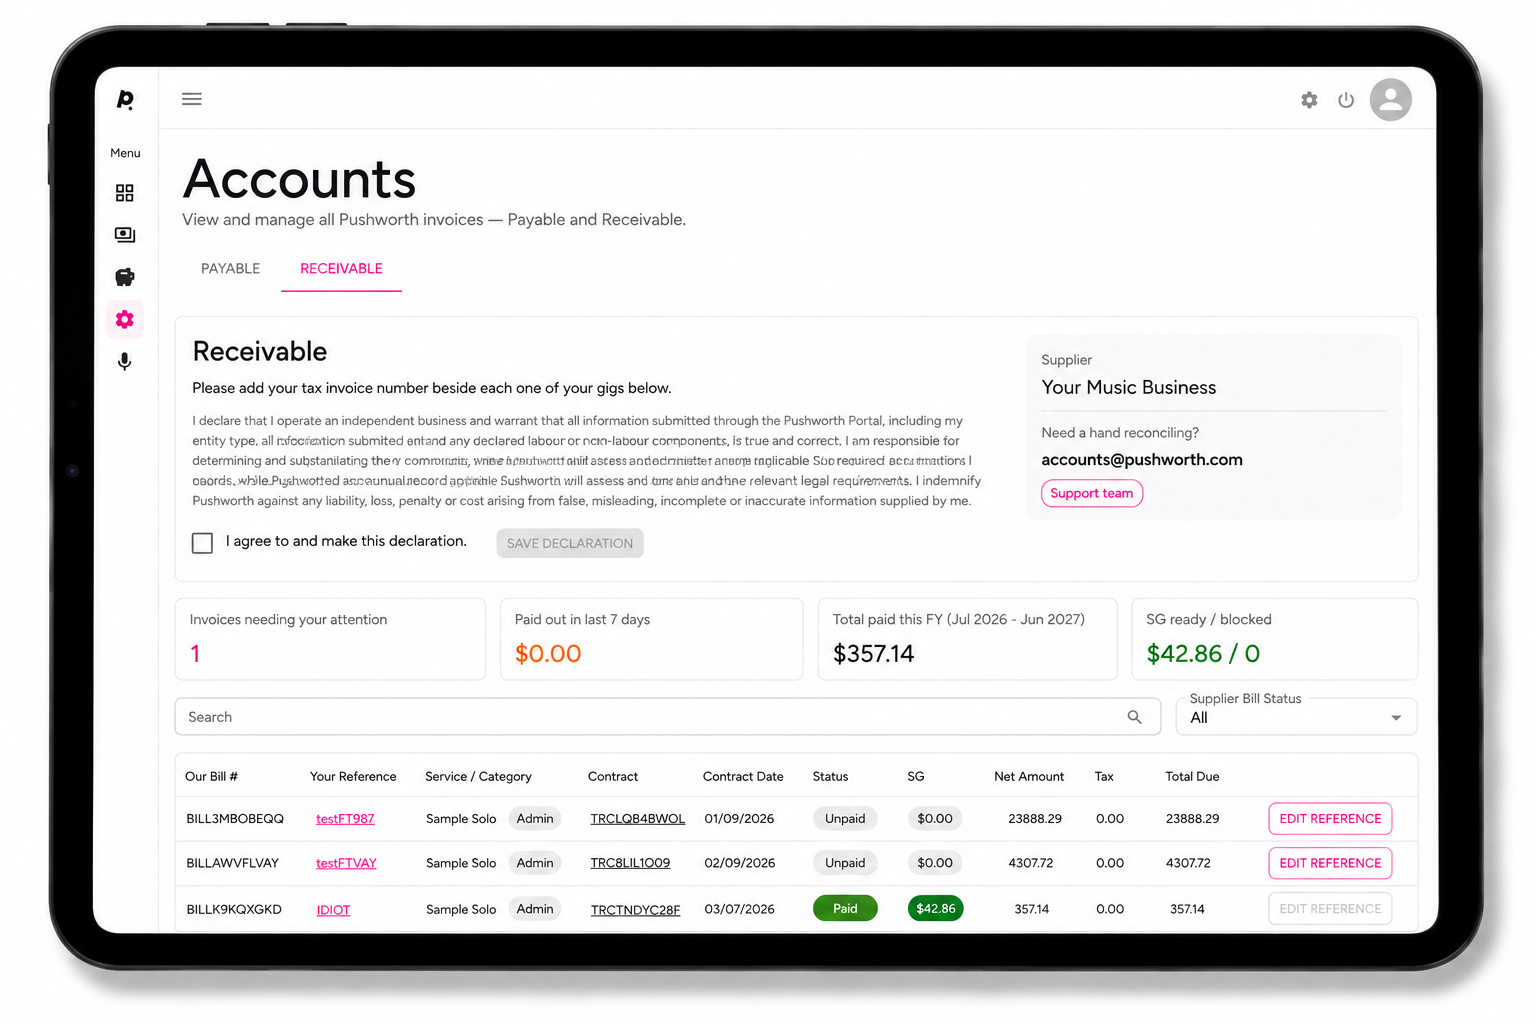
Maintain the Superannuation information Pushworth requires for applicable SG payments.
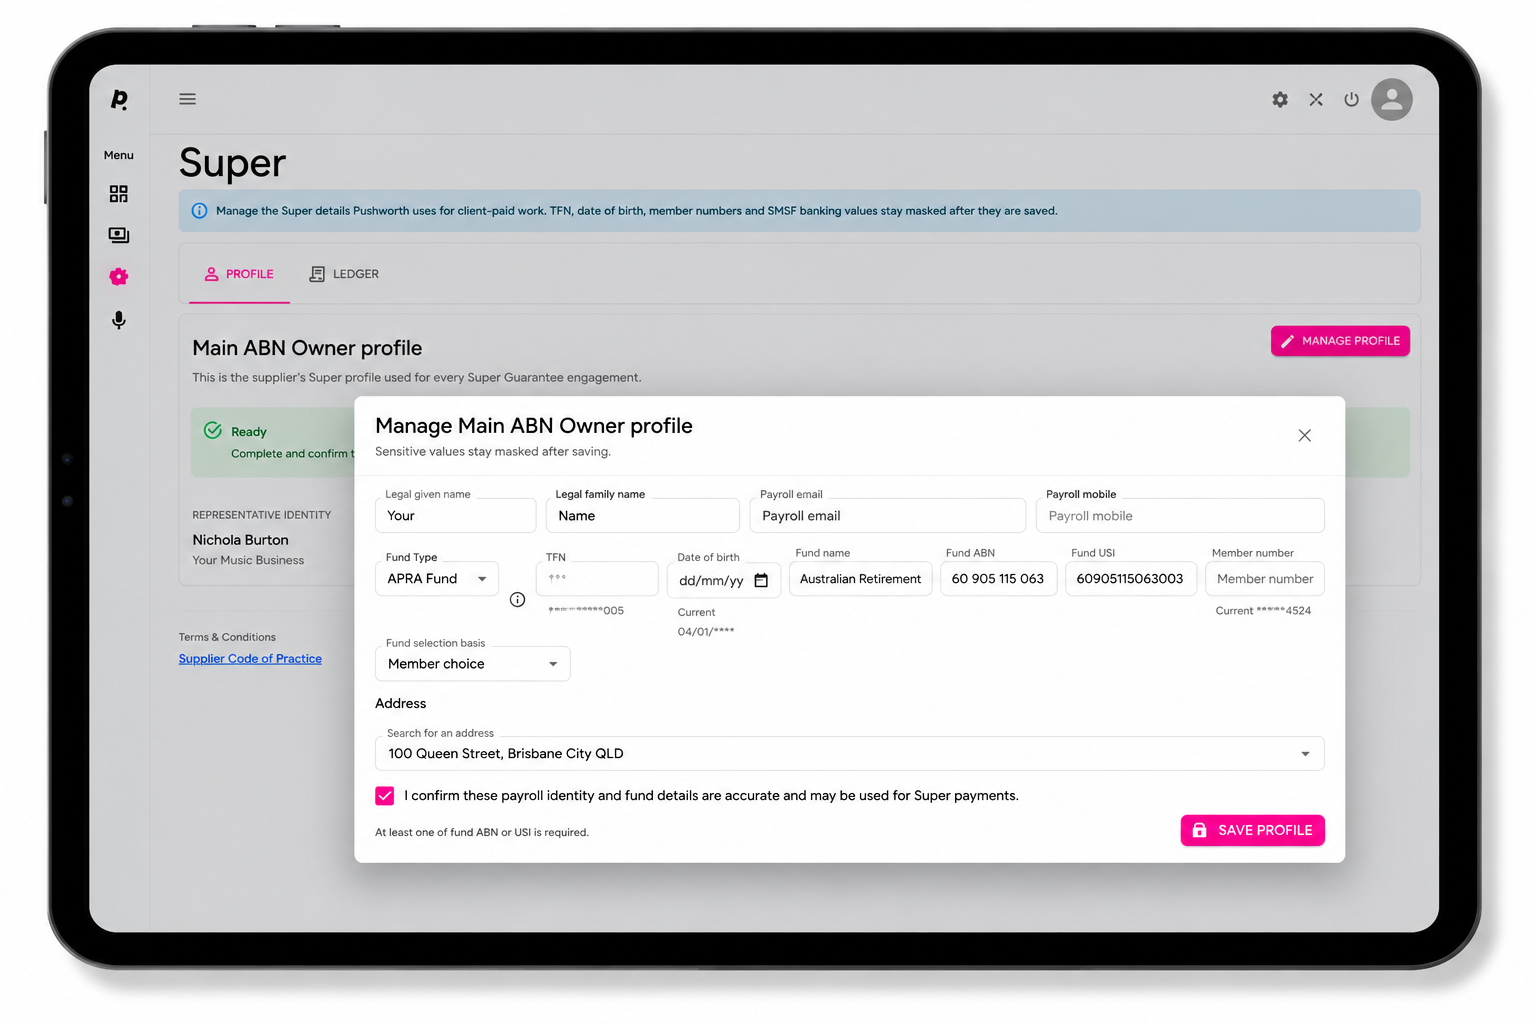
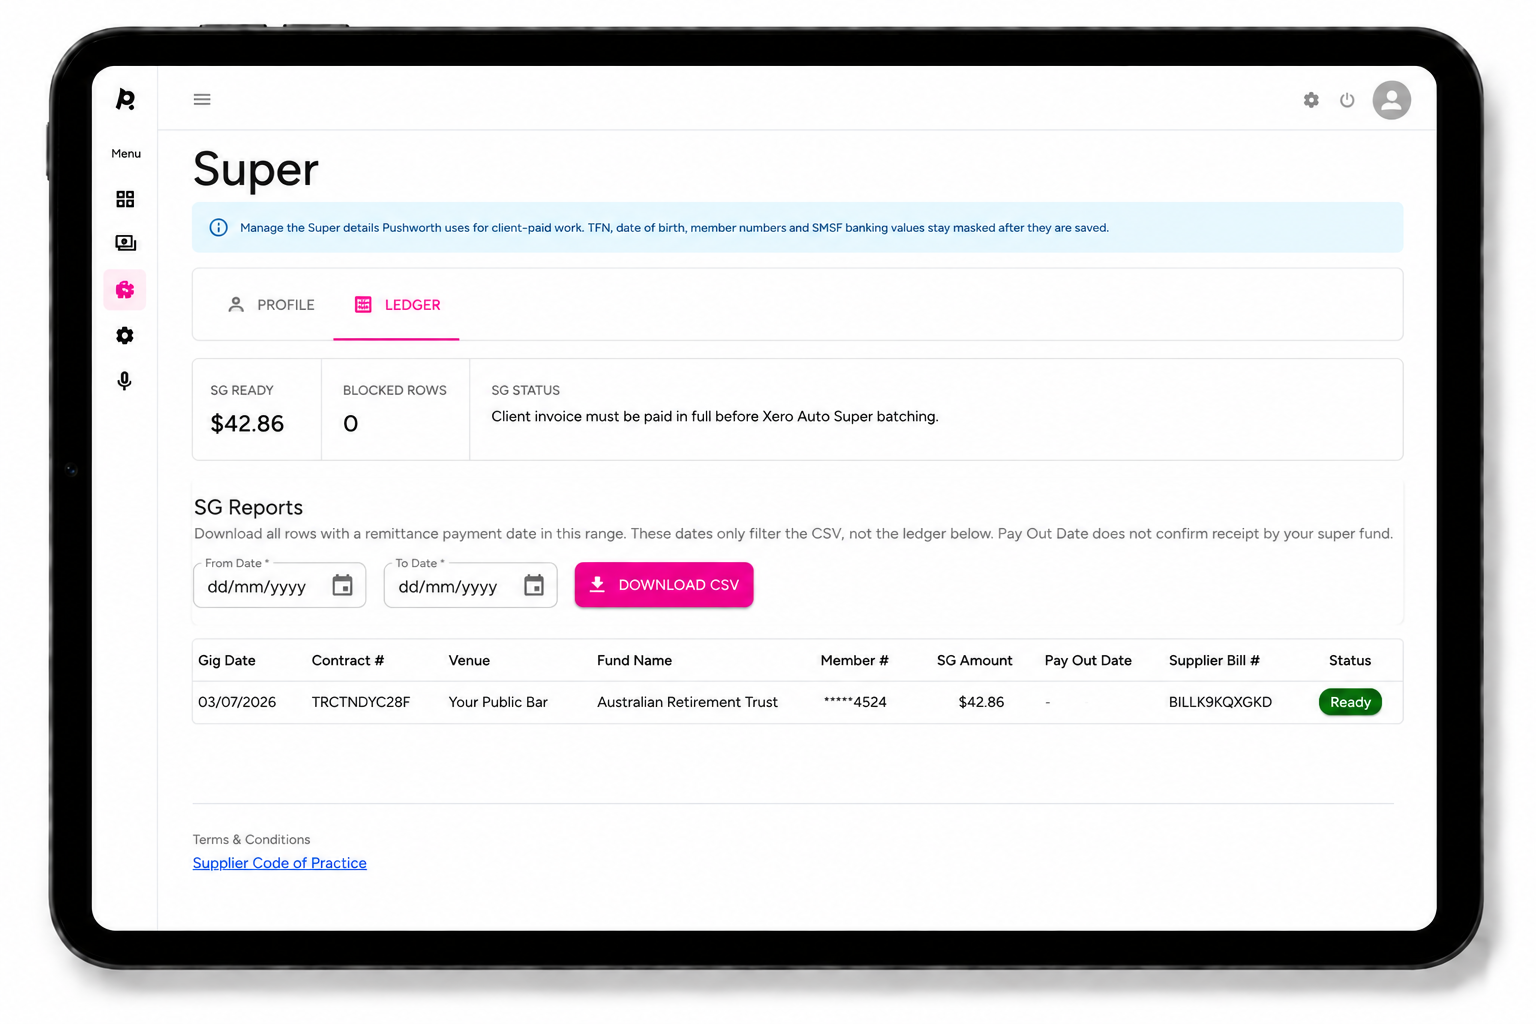
Open your Super Dashboard and select Ledger.
Search by Contract to see the applicable SG amount and payment status.
Pushworth onboards and contracts with the main ABN holder. Additional musicians engaged by that ABN holder are subcontracted under their own business arrangements.
Pushworth cannot provide taxation, accounting or legal advice. Please speak with your accountant or professional adviser about your individual obligations.
Keep the workplace health and safety information required for your live performance work current.
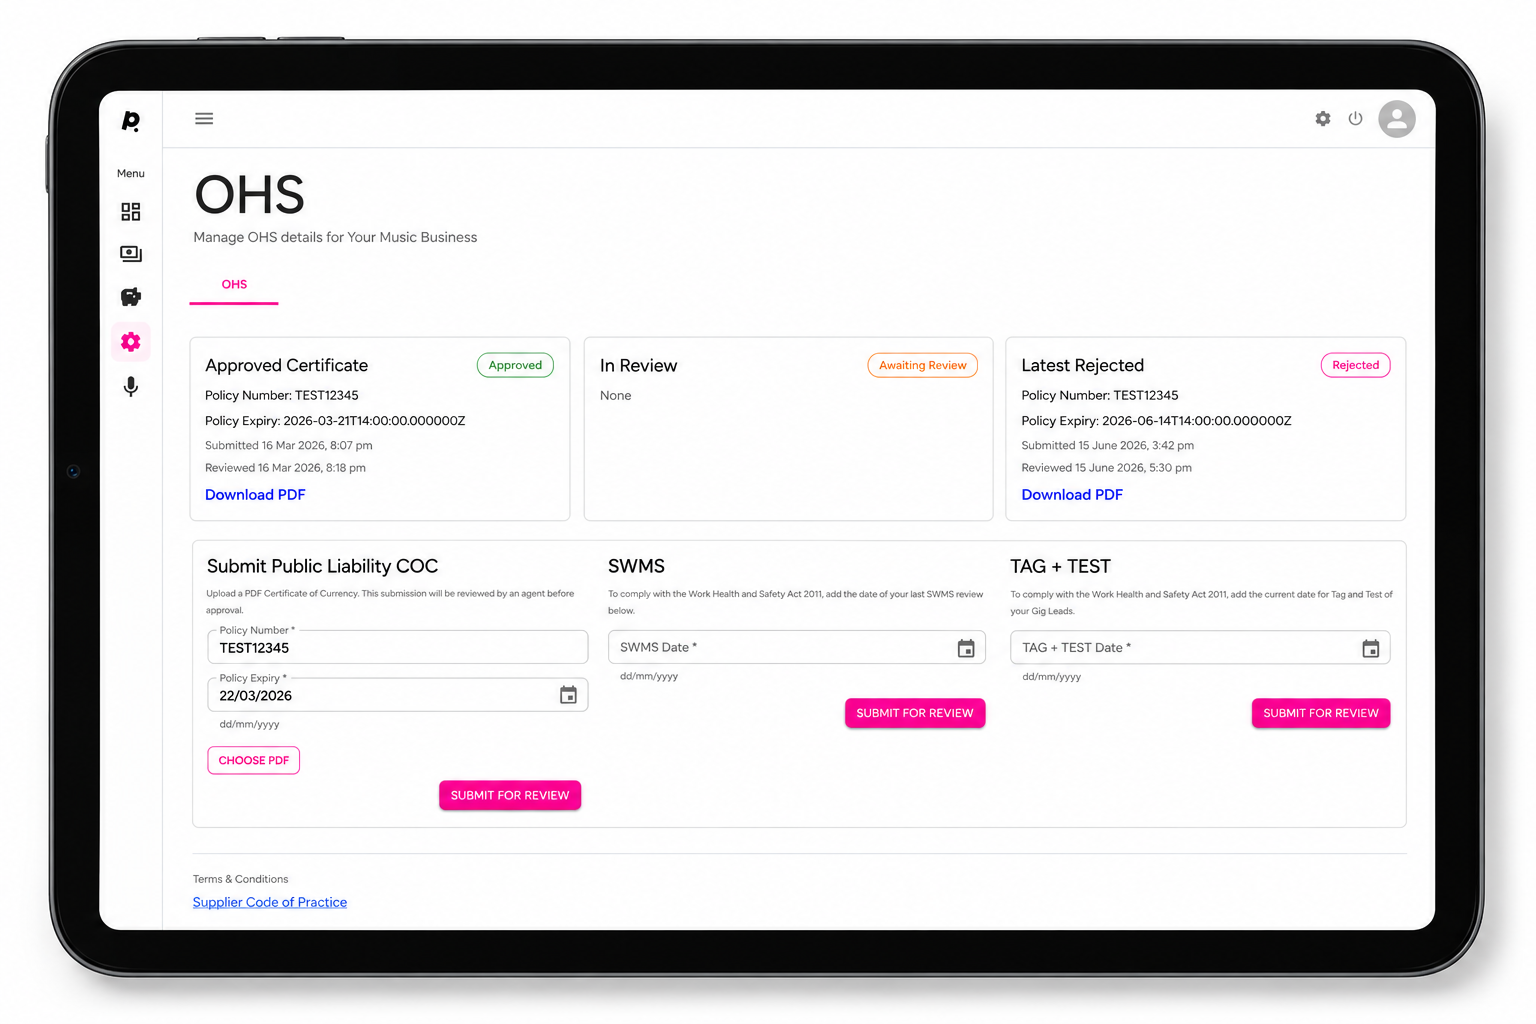
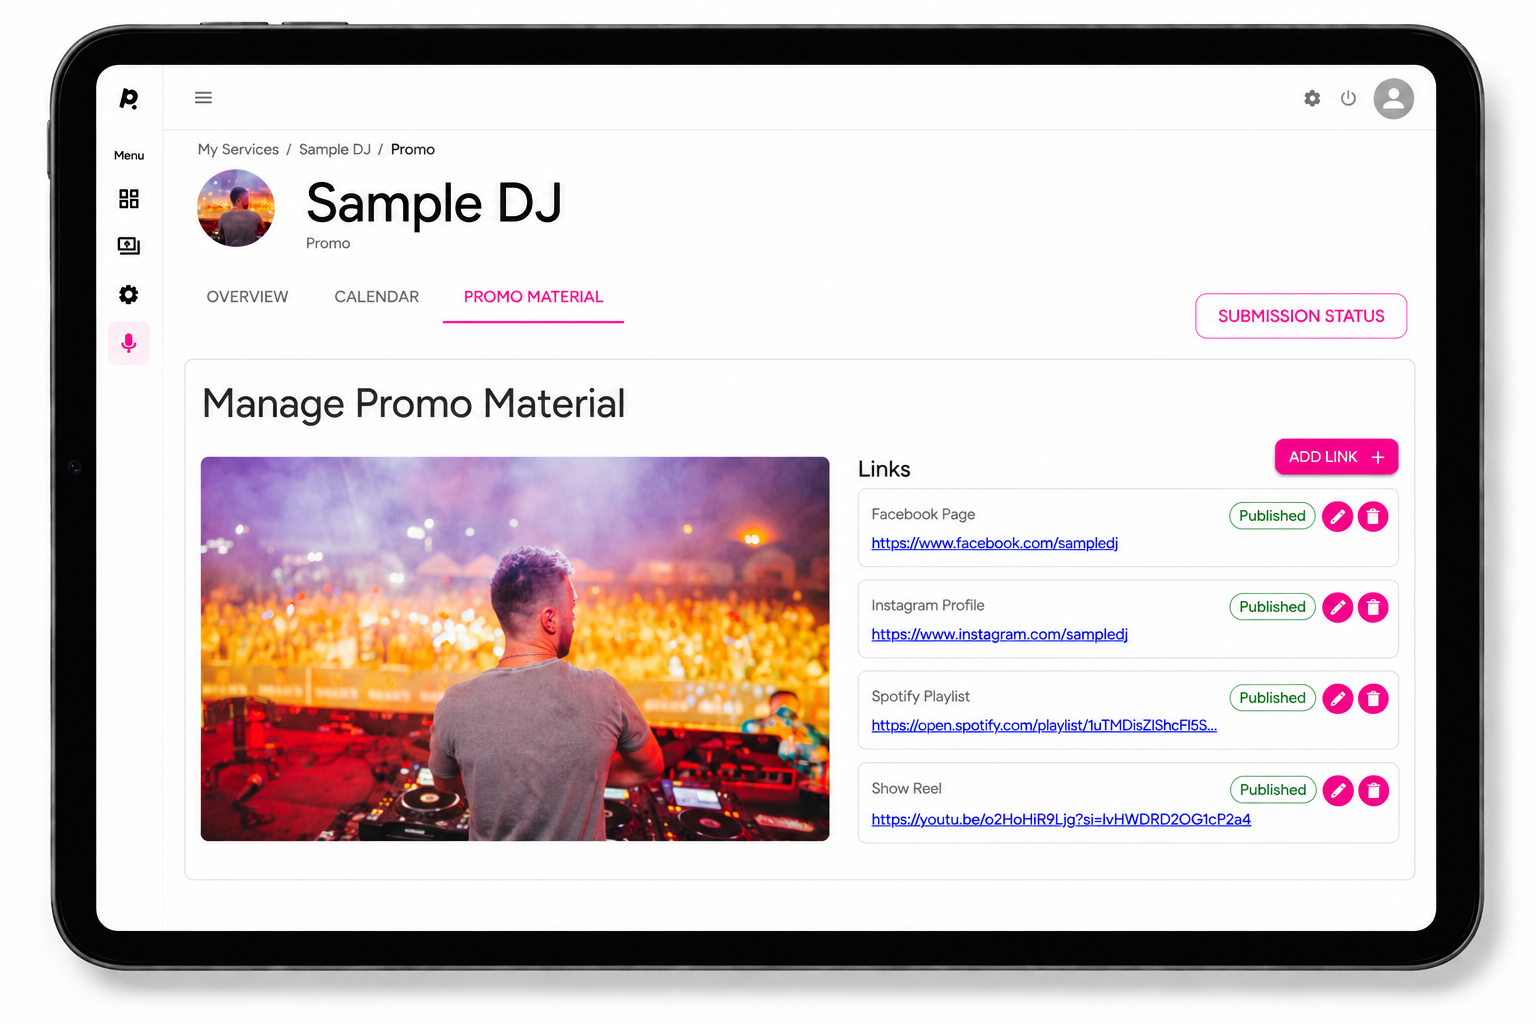
Keep the promotional information for each Service current.
Promotional material is reviewed by the Pushworth Team before publication.
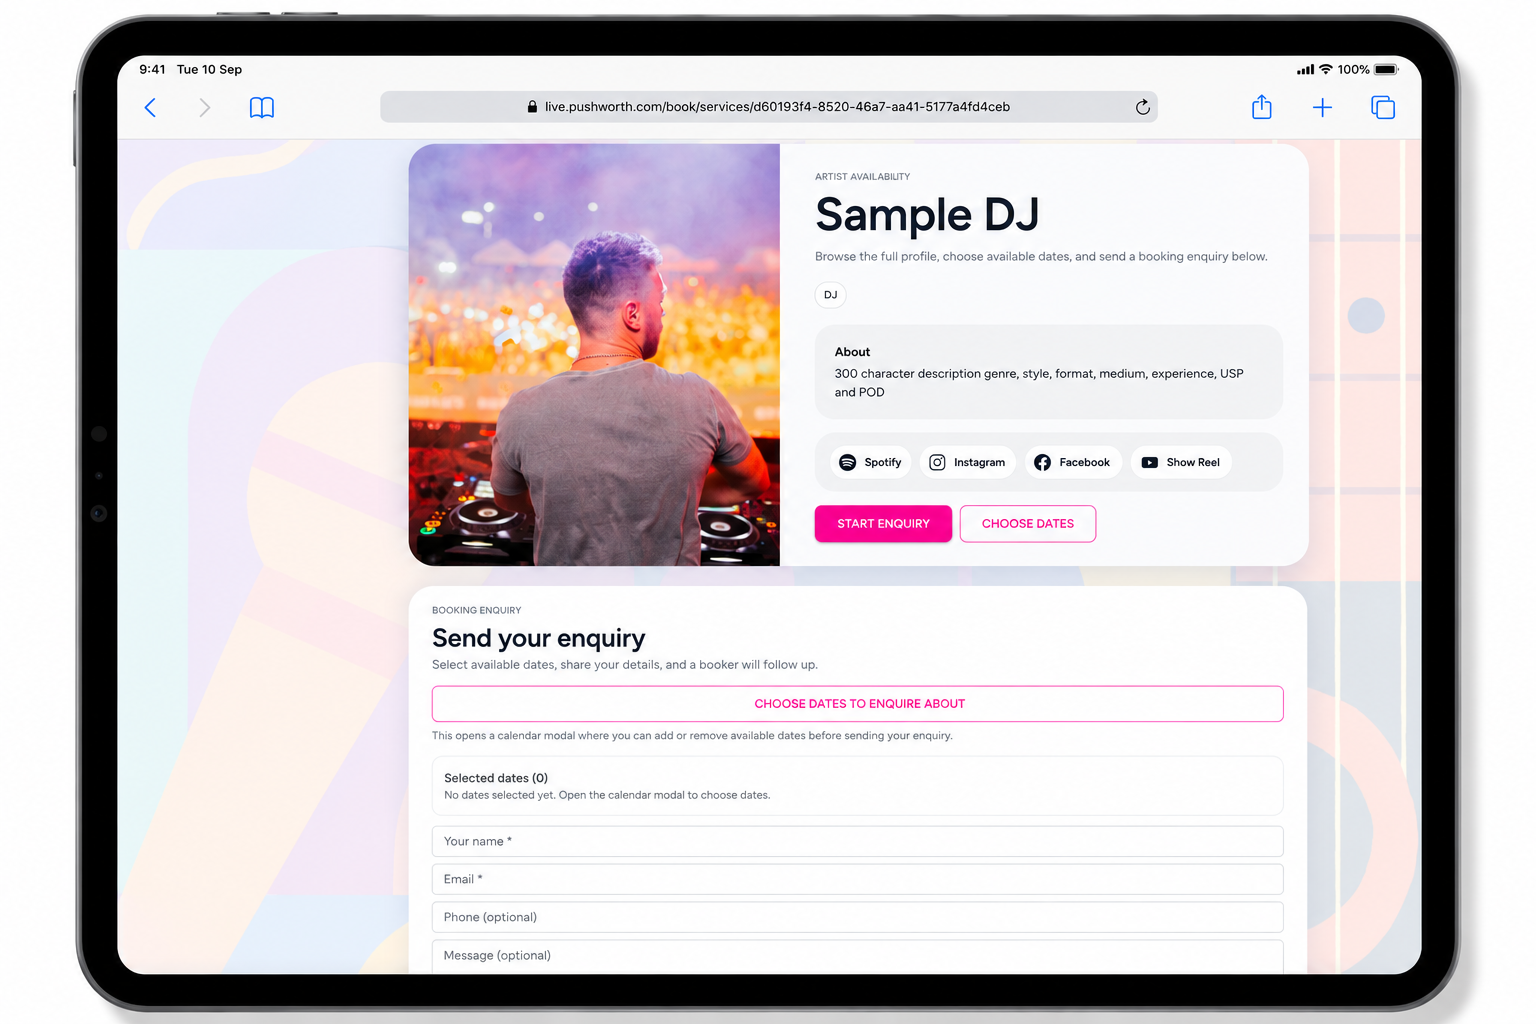
Each Service can have its own Public Booking Link.
Copy your Public Booking Link from your Service Calendar and share it on your website, social media or directly with a prospective client.
The client can view your profile, choose available dates and send a booking enquiry through Pushworth Live.
Pushworth receives the enquiry and manages the booking process.
The Public Booking page displays your promotional profile together with the enquiry form.
A prospective client can select available dates and send an enquiry directly through Pushworth Live.
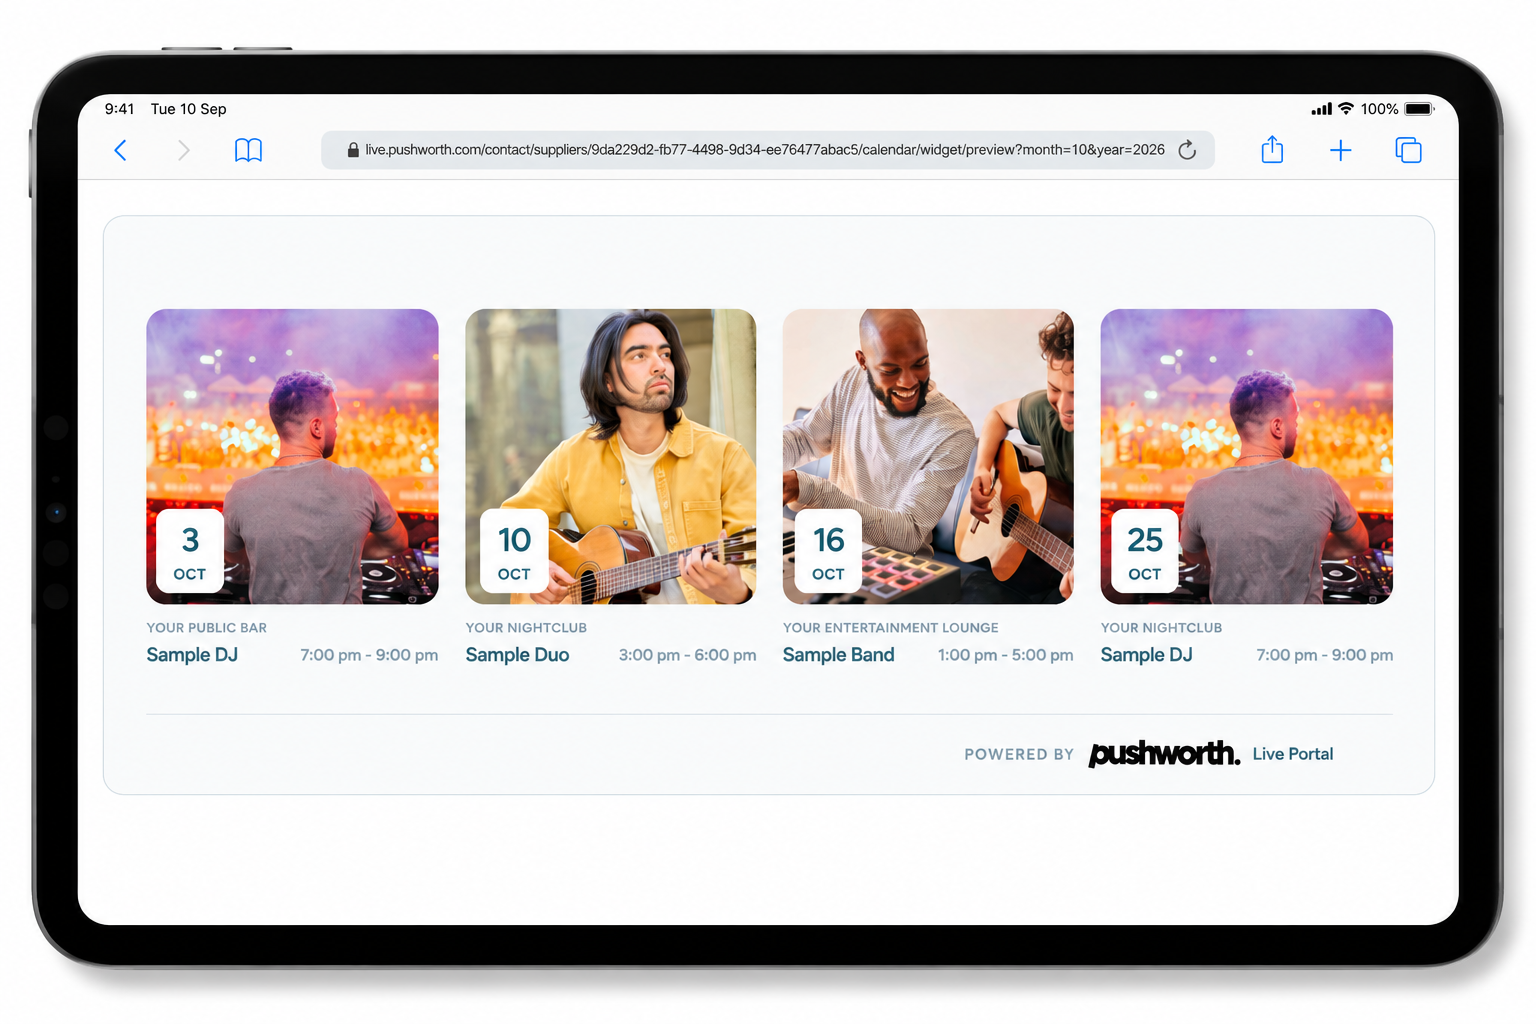
Display all Pushworth bookings across your Services on your own website.
Open the Calendar Widget from your Main Dashboard.
Copy the supplied HTML code.
Add the code to your website once.
Your Gig Guide automatically updates as new gigs are booked.
All Services operating under Your Music Business can appear together in the Gig Guide — for example Sample DJ, Sample Duo and Sample Band.
If something isn't working, work through these steps before contacting Portal Support.
Check the relevant section and follow the instructions.
Confirm that you are using the correct Portal area.
Capture exactly what is appearing on screen.
Write out the steps you took and include any error messages.
Our IT Support Team will investigate and respond as quickly as possible.